Run a WebApp Pentest
Once you've configured your web application at Inventory > Applications, this page walks you through running corresponding enumeration and attack tests. You'll enter these configuration settings when you launch each test run, and your choices here apply to a single run.
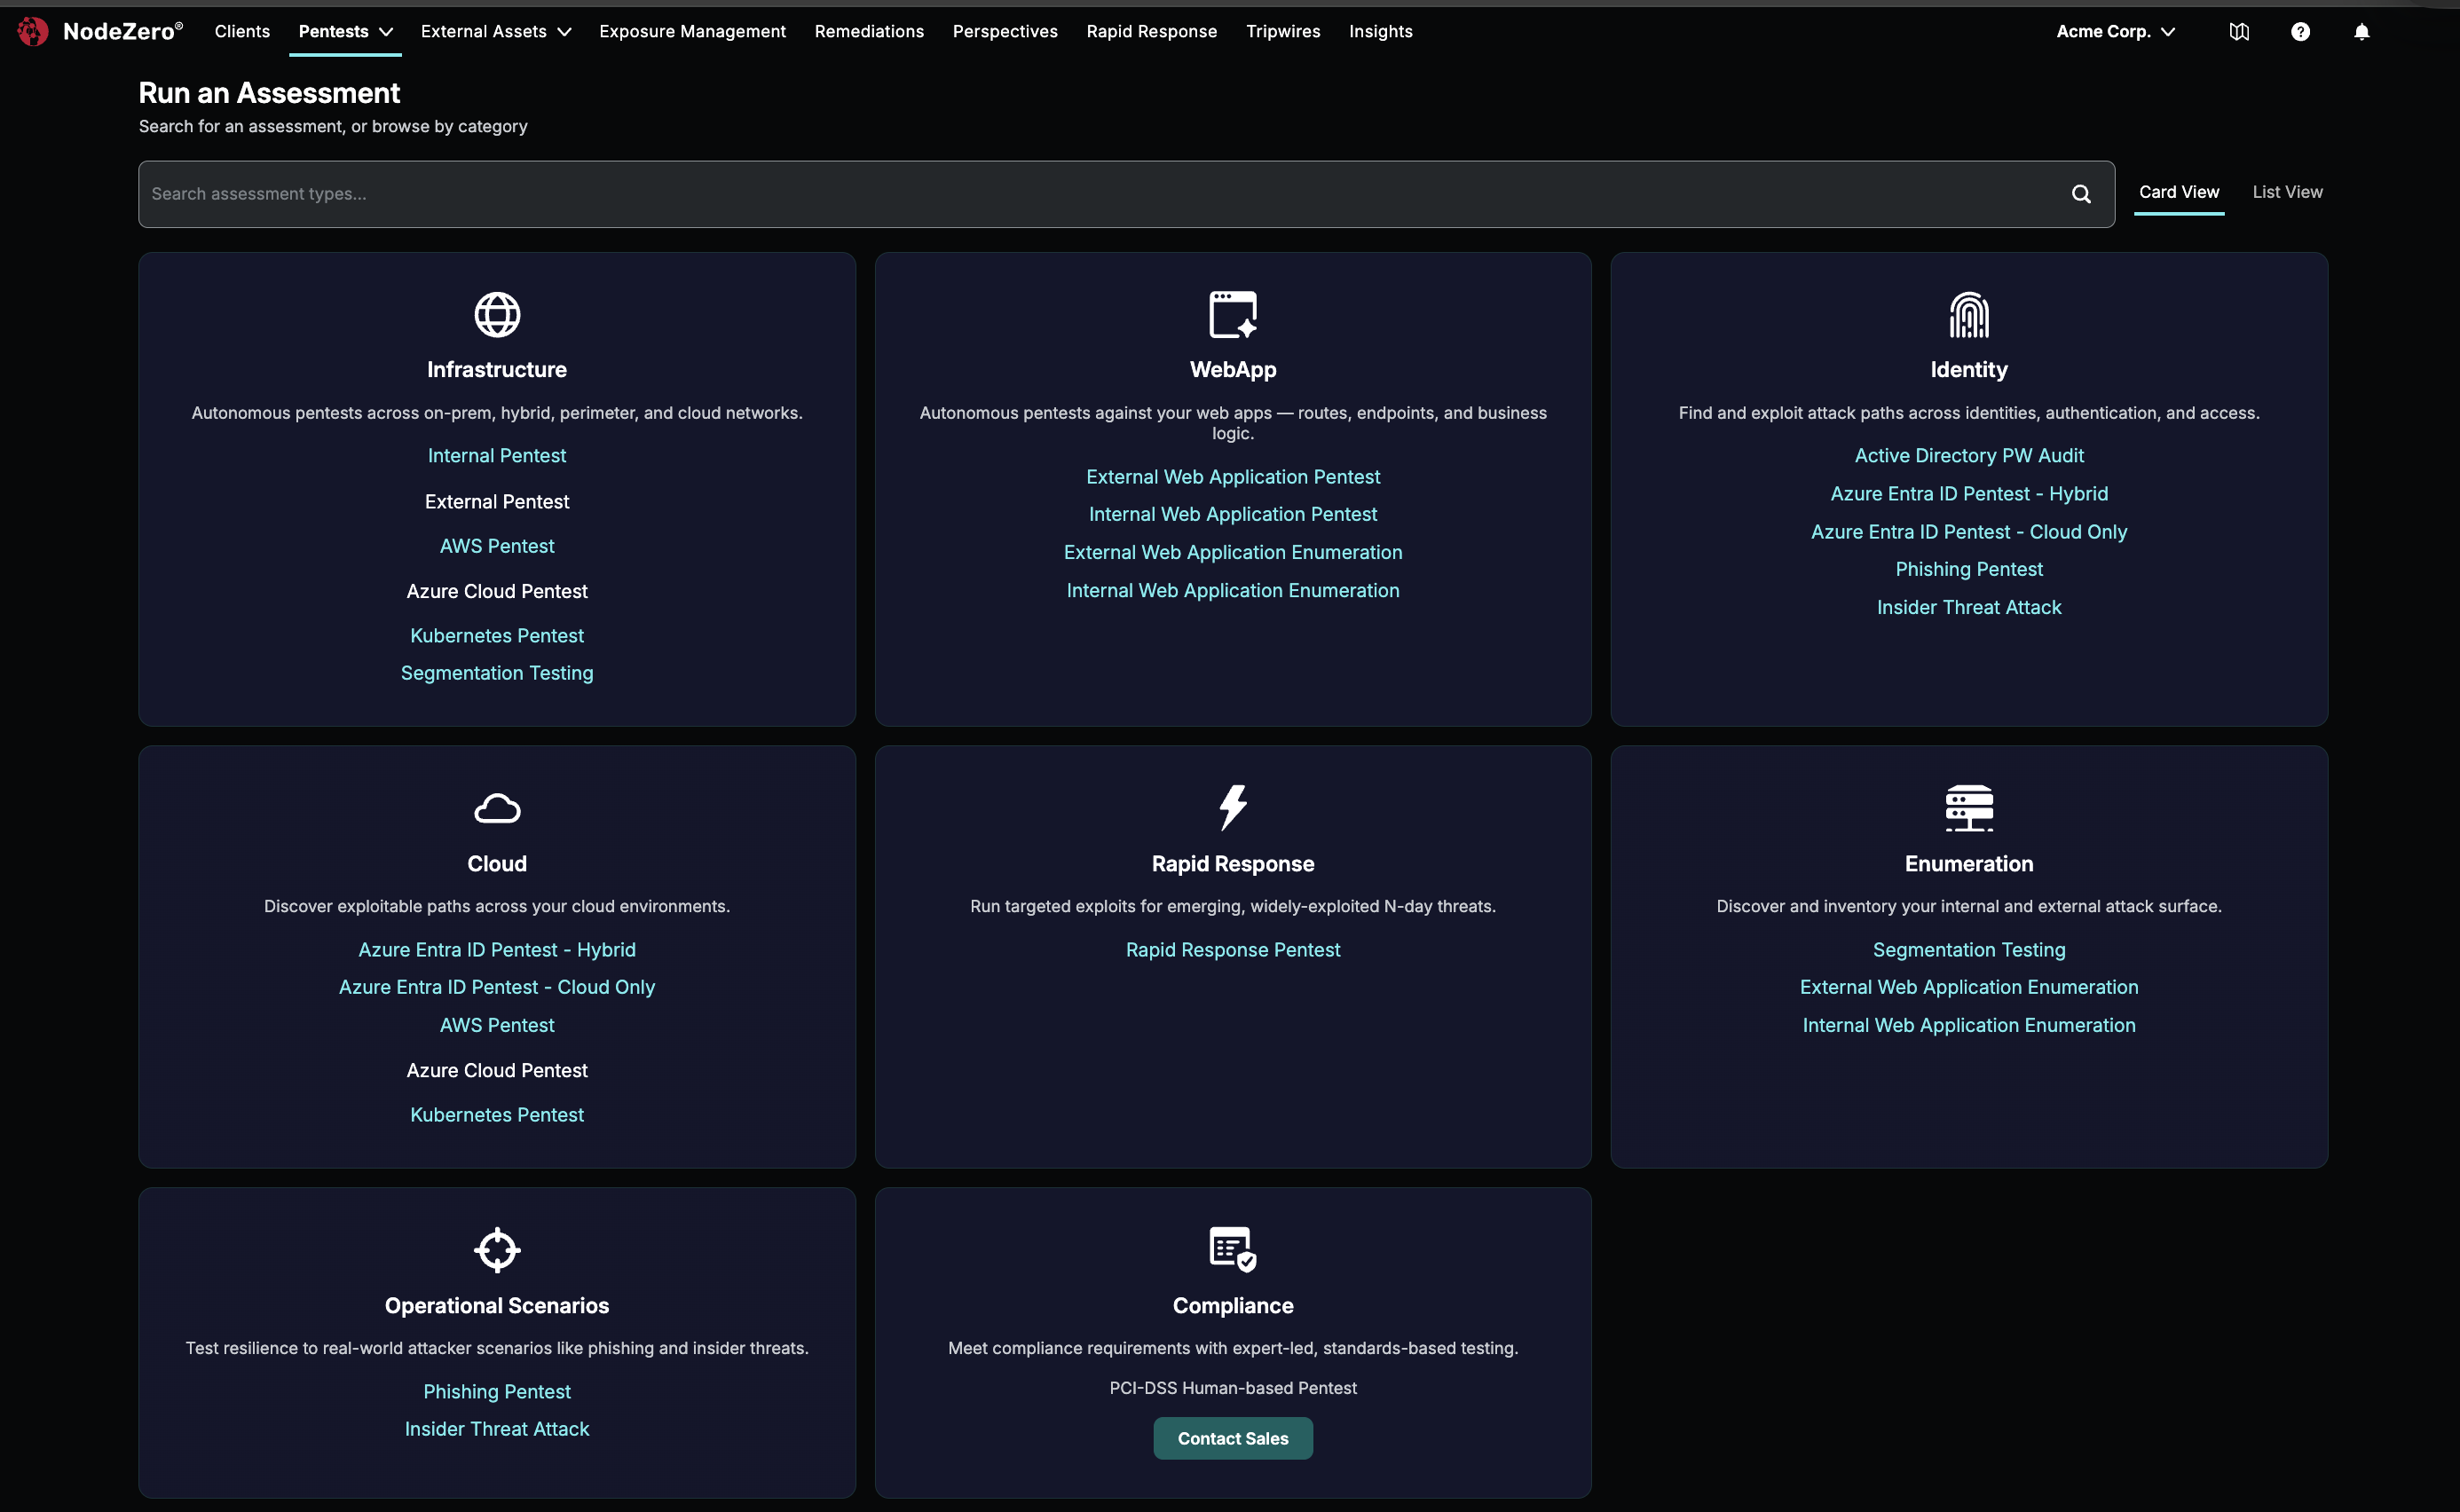
It's easiest to access all four test types in the NodeZero Portal by opening the top Pentests drop-down, then selecting Pentests, and then clicking Run Assessment from the resulting page. The resulting WebApp tile provides links to external and internal enumeration tests, and to external and internal (attack) pentests.
Start from the application
Alternatively, you can run these tests from the Inventory > Applications page's Custom lower tab. Find your web application, open its Actions () menu, and select either Run Enumeration or Run Pentest.
One App per Pentest
In the following instructions, note that each WebApp pentest targets a single Application object that you've configured. Test distinct applications as separate pentests.
However, from your test results, you can expand the scope of future tests to include related URLs (such as subdomains) that belong to the same application.
Run External or Internal Enumeration
Use this free, passive test to evaluate NodeZero's coverage against your environment before you commit a license to an attack test.
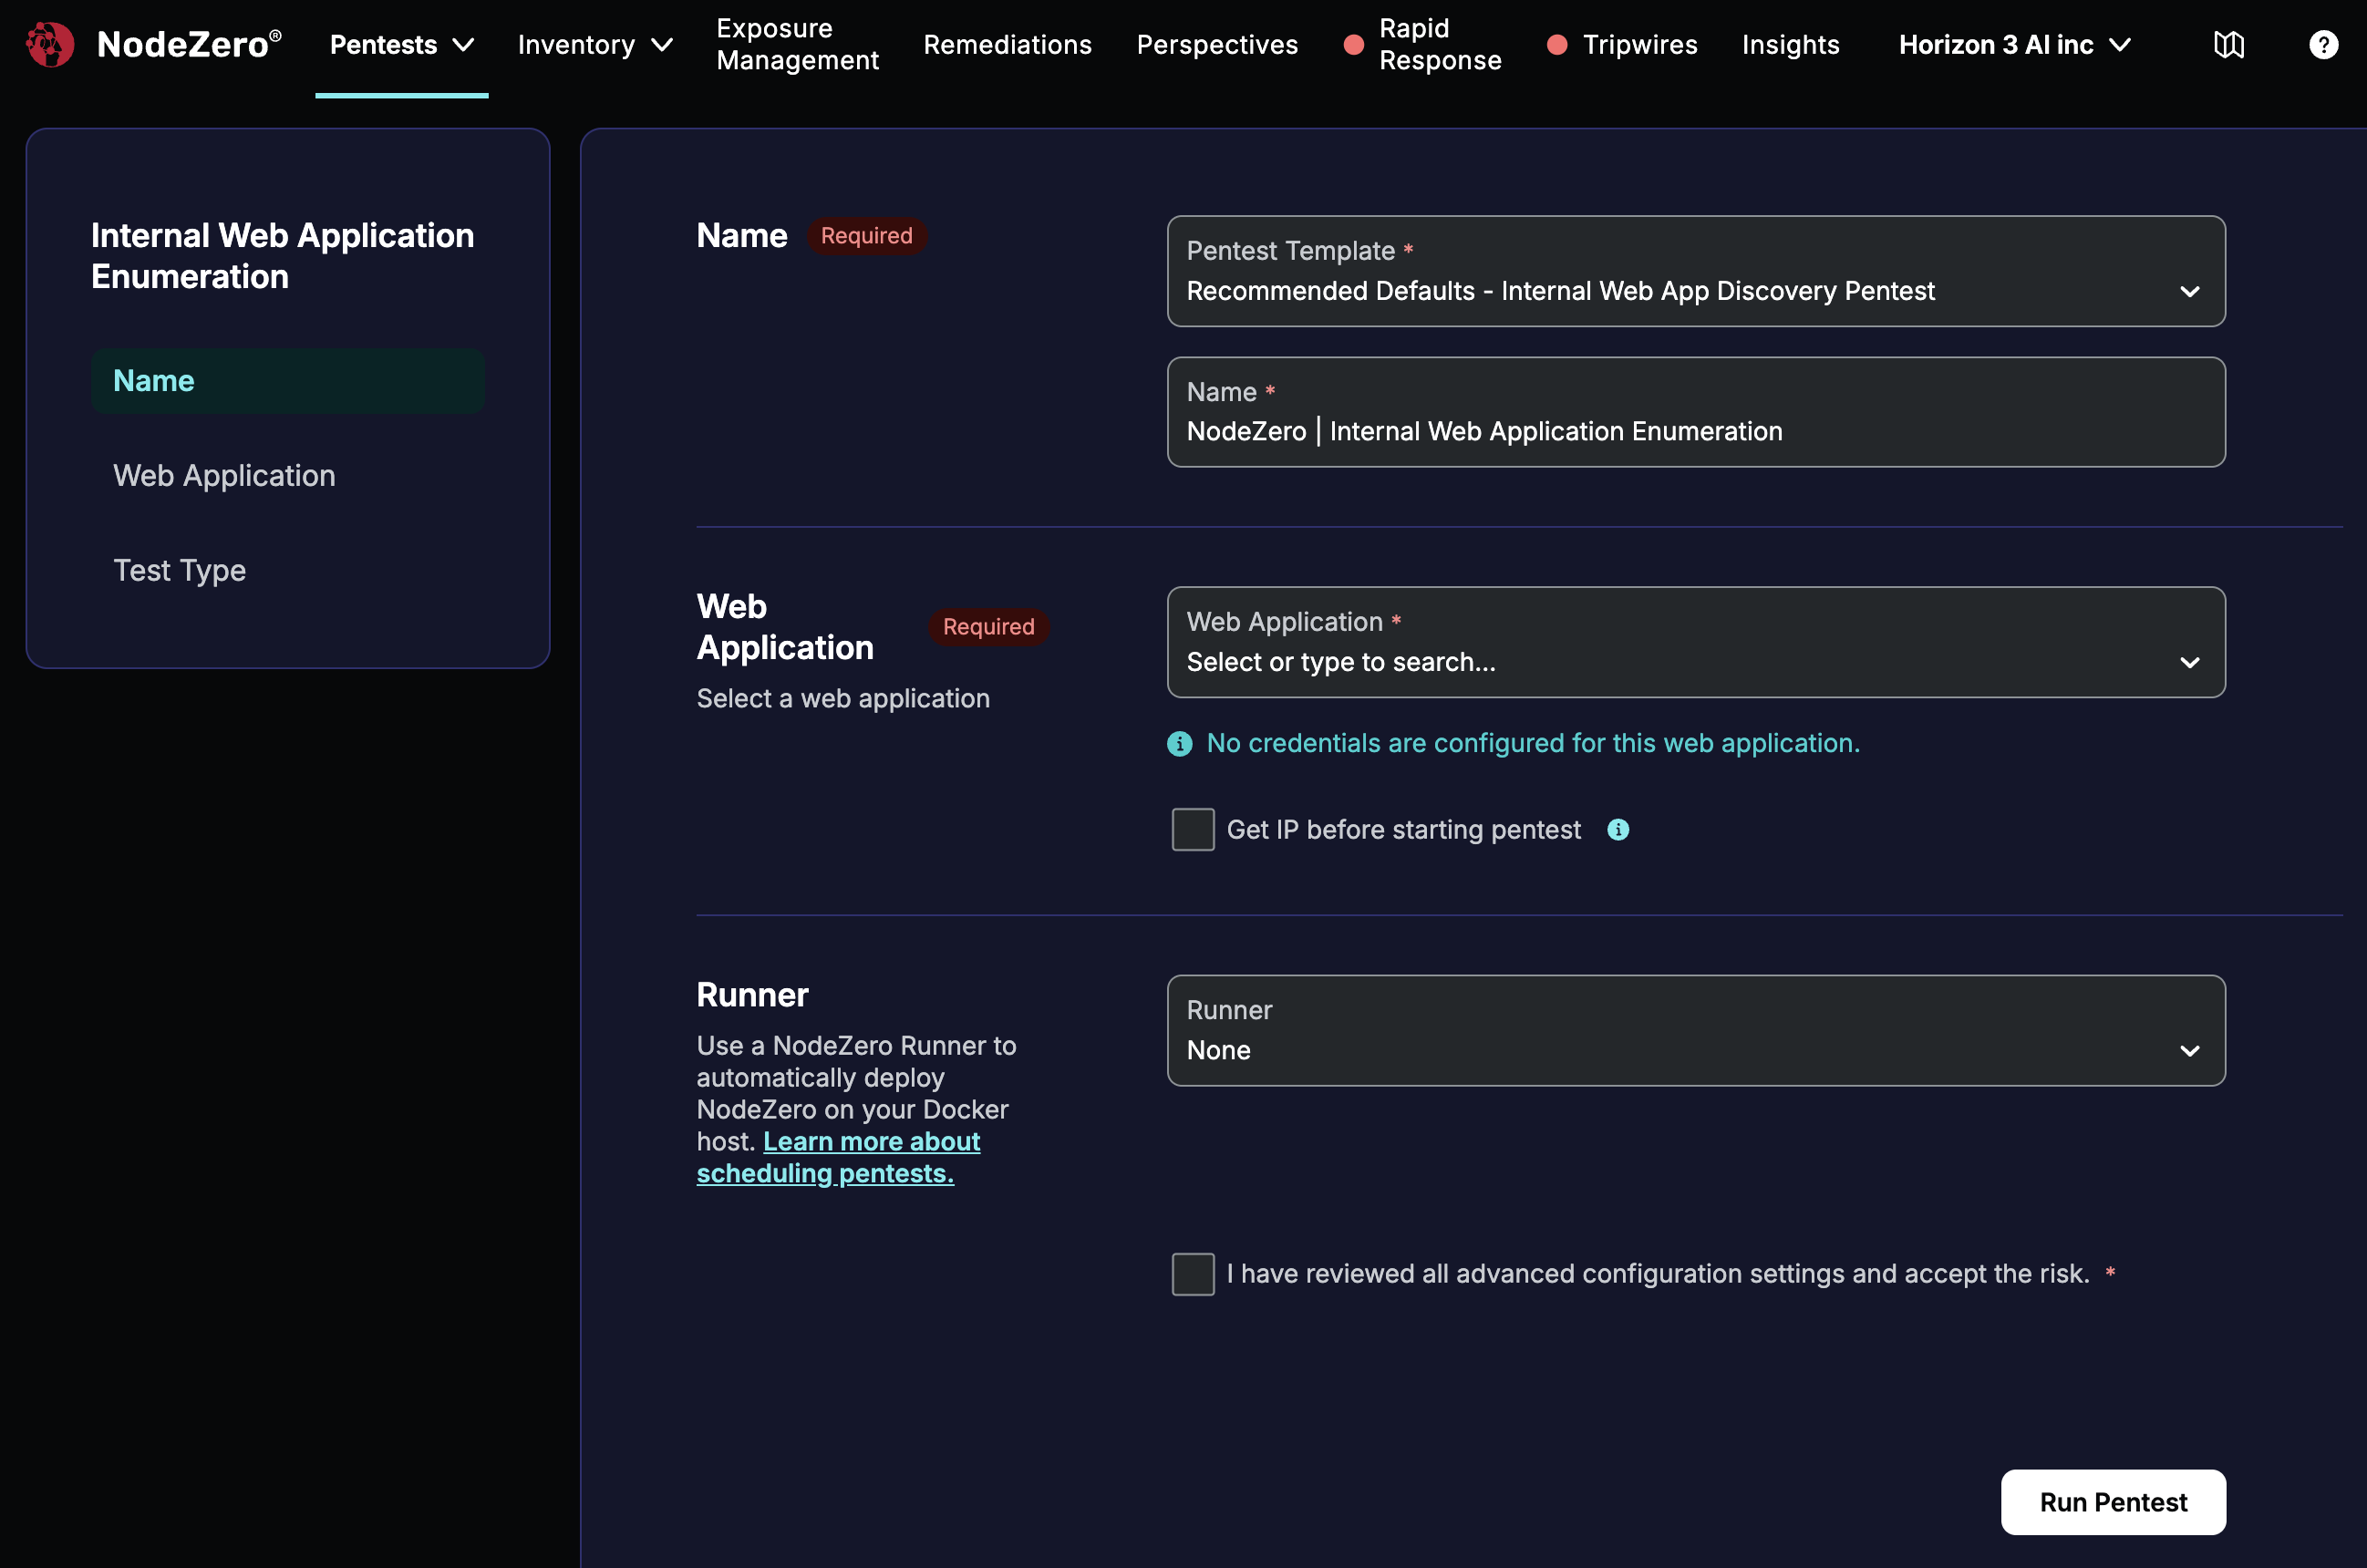
The configuration page shown below (for an Internal Enumeration) contains a subset of the controls for an attack test, outlined in the next section.
Run External or Internal Test
On most plans, each application that you test consumes one NodeZero license – as does one asset in other NodeZero tests – no matter how many times you test it, or how many credentials/roles you swap into subsequent tests. On a Flex plan, each test run consumes one license.
You can run an attack test against your configured web application from either of these entry points:
-
Pentests > Pentests > Run Assessment > WebApp tile; then select an external or internal WebApp pentest.
-
Inventory > Applications page's Custom lower tab; open your application's Actions () menu and select Run Pentest.
With either option, you'll next see a configuration page like this one (for an Internal Pentest):
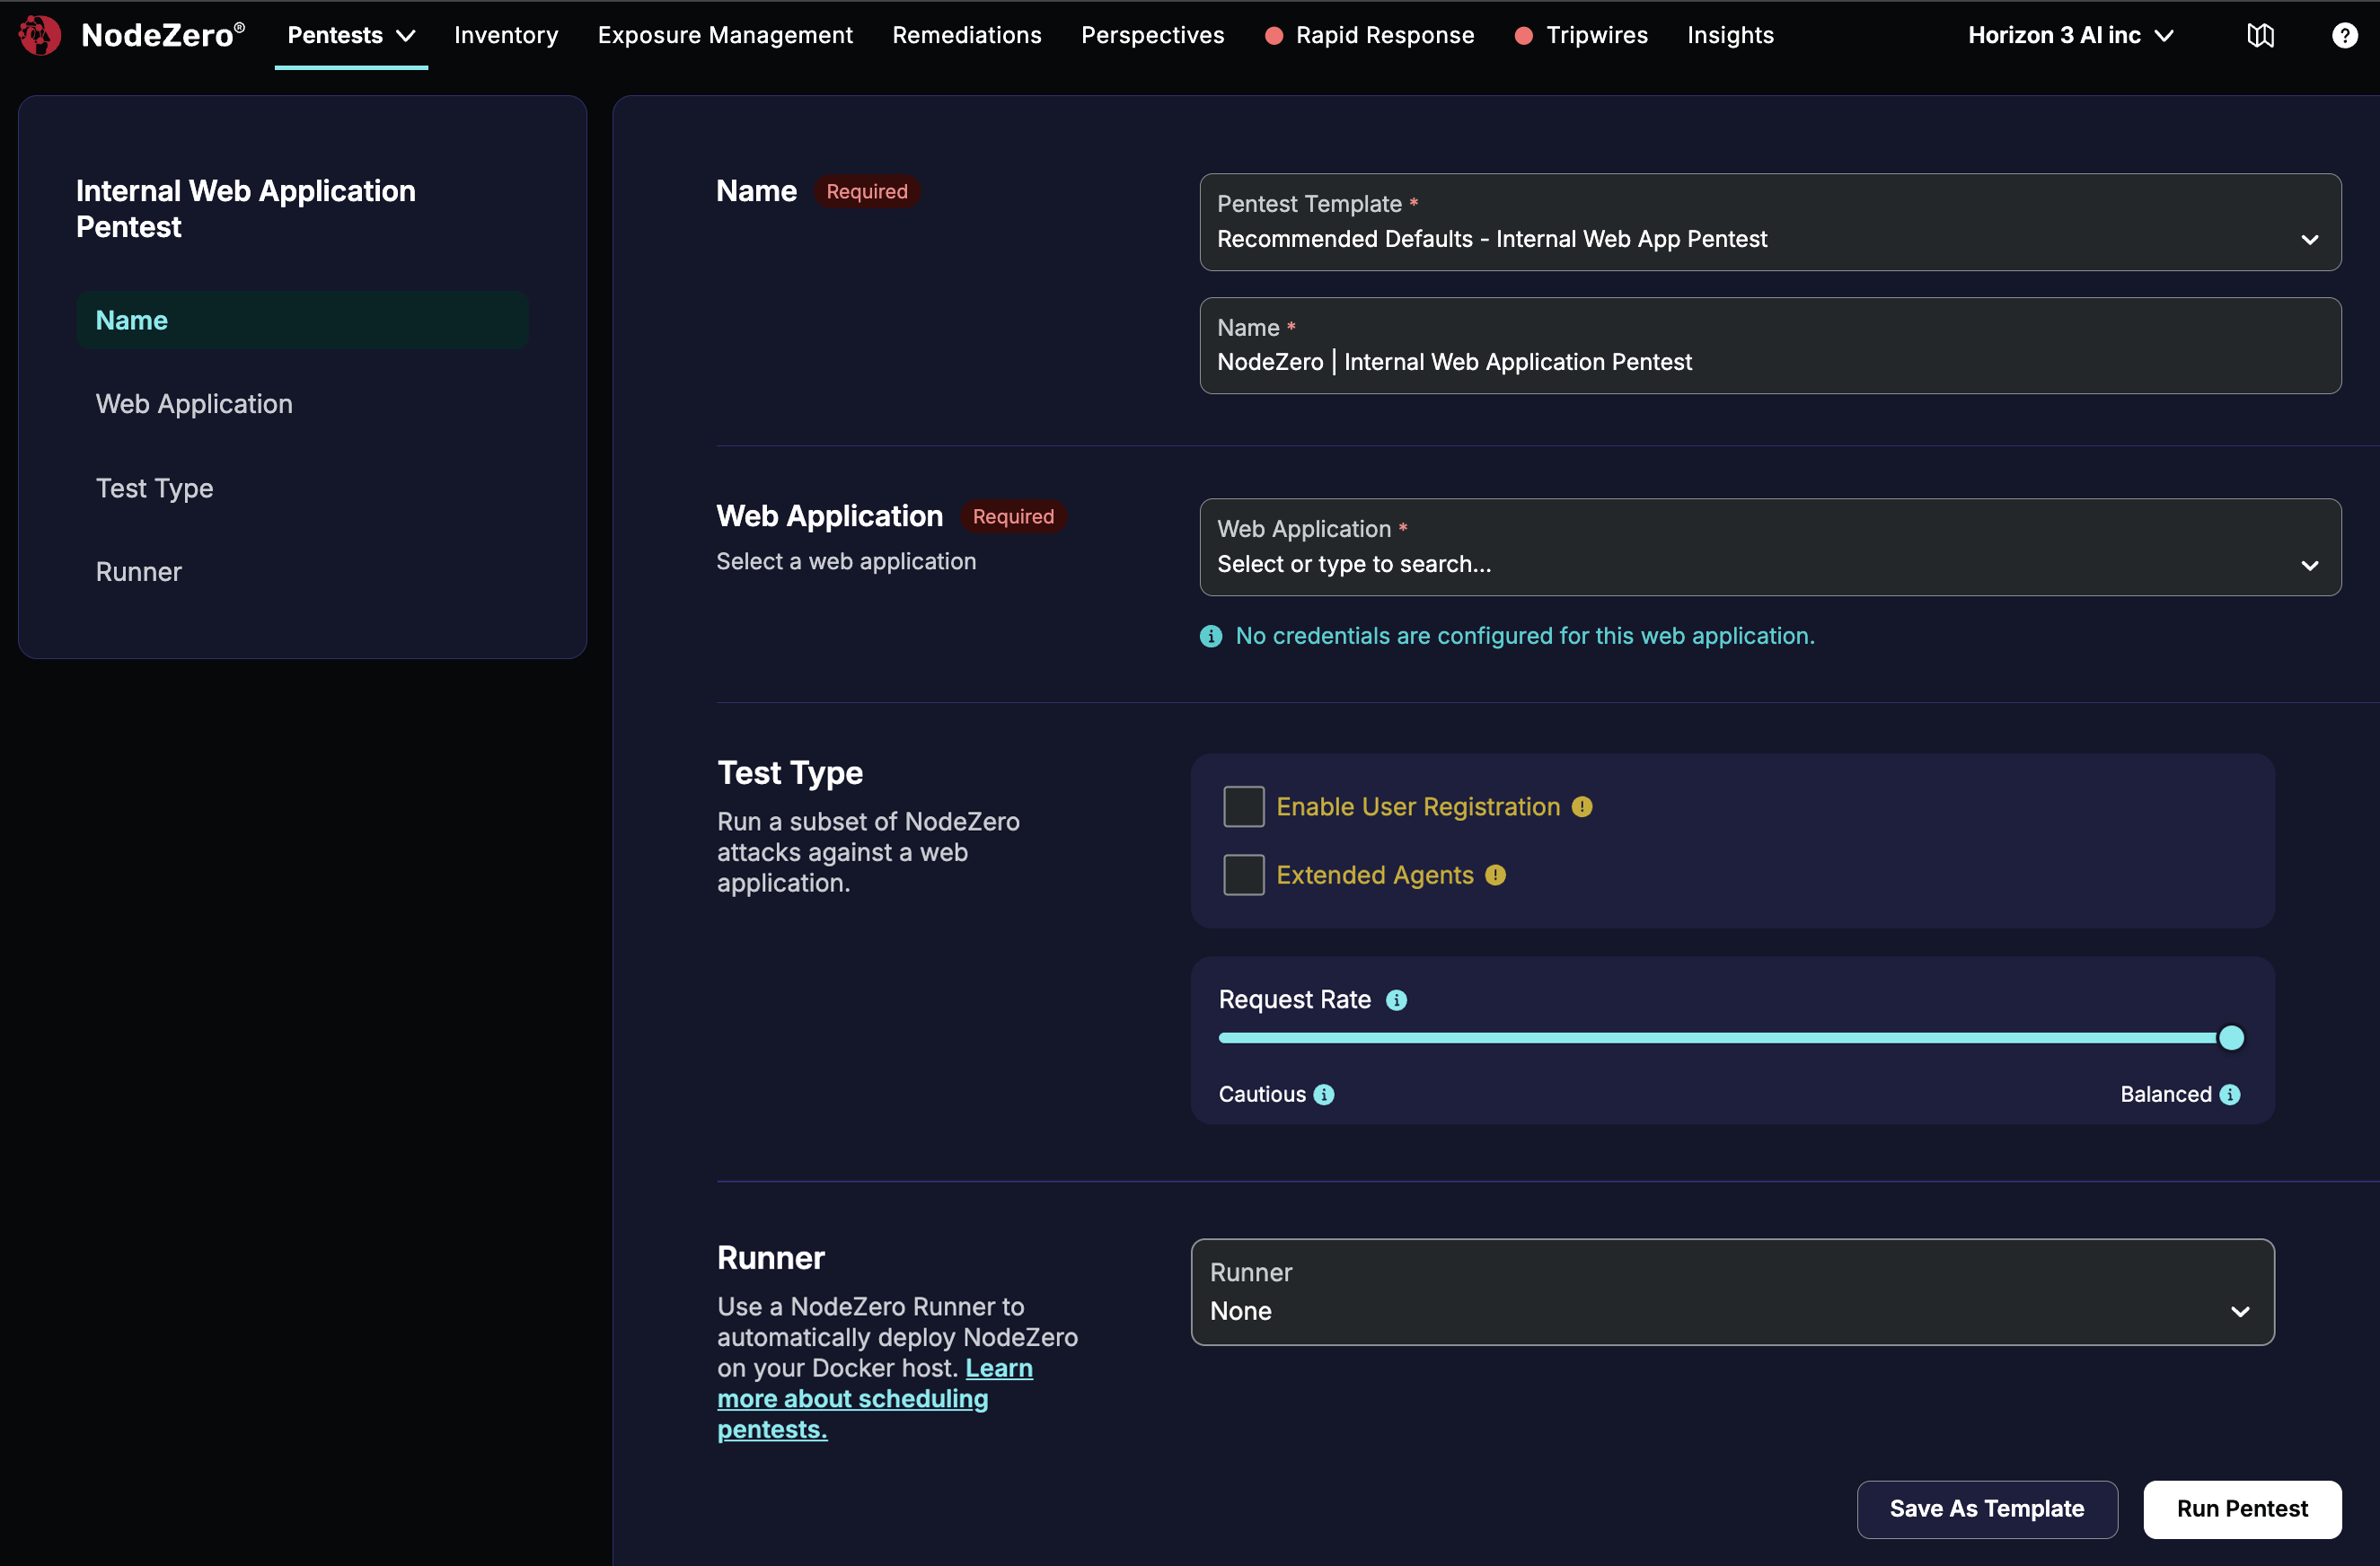
The following sections cover the selections you'll need to make before kicking off the test.
Name and Template
Here, you can select a template for the test, and customize the test's name.
Web Application Parameters
From the Web Application, drop-down, select your configured application. Depending on what you've configured there, that selection can display:
-
API URLs – a list, for visual confirmation.
-
Stored Credentials – with metadata and check boxes to apply the credentials to this test.
Get IP: WAF and Rate Limiters
A Get IP before starting pentest check box appears here when you configure an External WebApp pentest. The test might trigger a WAF (Web Application Firewall) or rate limiter because NodeZero intentionally exercises exploit payloads against the application.
To test underlying application behavior, rather than only the perimeter controls, select the Get IP before starting pentest option. NodeZero will pause before testing begins, and email you the test's source IP. Add that IP (or range) to the appropriate allowlists, then resume the pentest.
Test Type
This panel is a container for the following controls.
Enable User Registration
Select the Enable User Registration check box to allow NodeZero to create test user accounts through the target application's self-registration flow. NodeZero will attempt to register new accounts if the application exposes a registration form.
Successful registrations produce new credentials, which the login module then uses to expand authenticated coverage. To skip the test's registration tier entirely, leave the check box empty.
Extended Agents
Select the Extended Agents check box to add AI-driven testing beyond NodeZero's standard checks. Rather than following a fixed test plan, these agents dynamically choose which parts of the application to investigate, and how to test them – including designing their own follow-up requests. Adding these agents can reveal issues that rules-based testing isn't built to anticipate, such as business-logic flaws.
Because this testing is exploratory, and because results can vary between runs, it's best used against non-production applications. For details, see Agents in WebApp Tests.
Request Rate
The Request Rate setting controls how frequently NodeZero sends requests to the target application. The same requests are issued at either level. Only the pacing changes, trading test duration versus load on the target application. Select the level that matches the application's expected resilience and matches your tolerance for traffic and runtime impact:
- Cautious – Slows the request rate to reduce load. Use for sensitive or fragile applications that require minimal disruption.
- Balanced – Default; appropriate for most applications.
Runner
This section appears when you configure an Internal WebApp pentest. From the drop-down, select an existing NodeZero Runner with network connectivity to the target application.
Confirm and Run
To complete configuring this test, select the confirmation check box.
Next, click Save as Template to make this specific configuration available for future test runs, or click Run Pentest to launch your test immediately.