Jira Setup Guide
Configure NodeZero Vulnerability Management APIs
Configure a ticketing platform integration for Vulnerability Management Hub
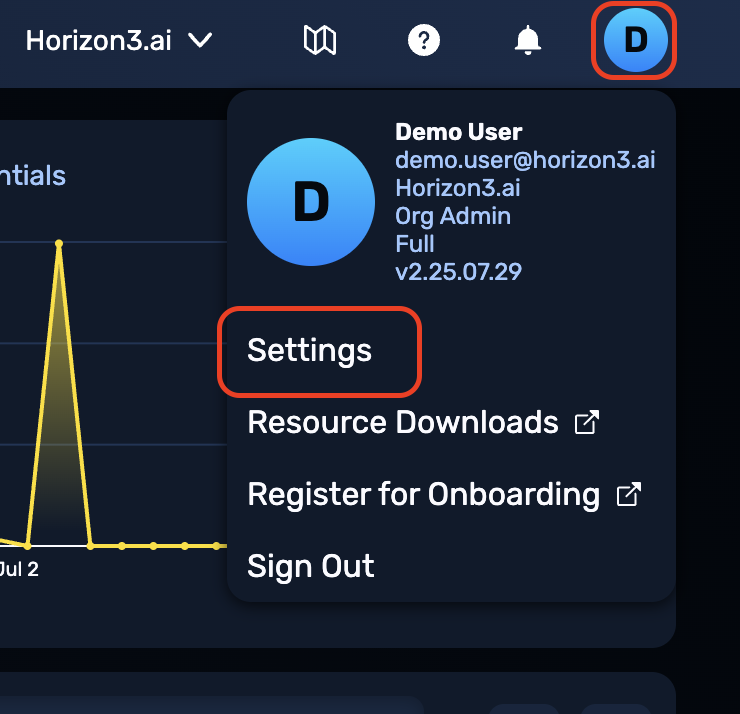
Navigate to the Settings Page
Click the user profile button in the top right of the Portal. Then in the drop-down, click Settings.
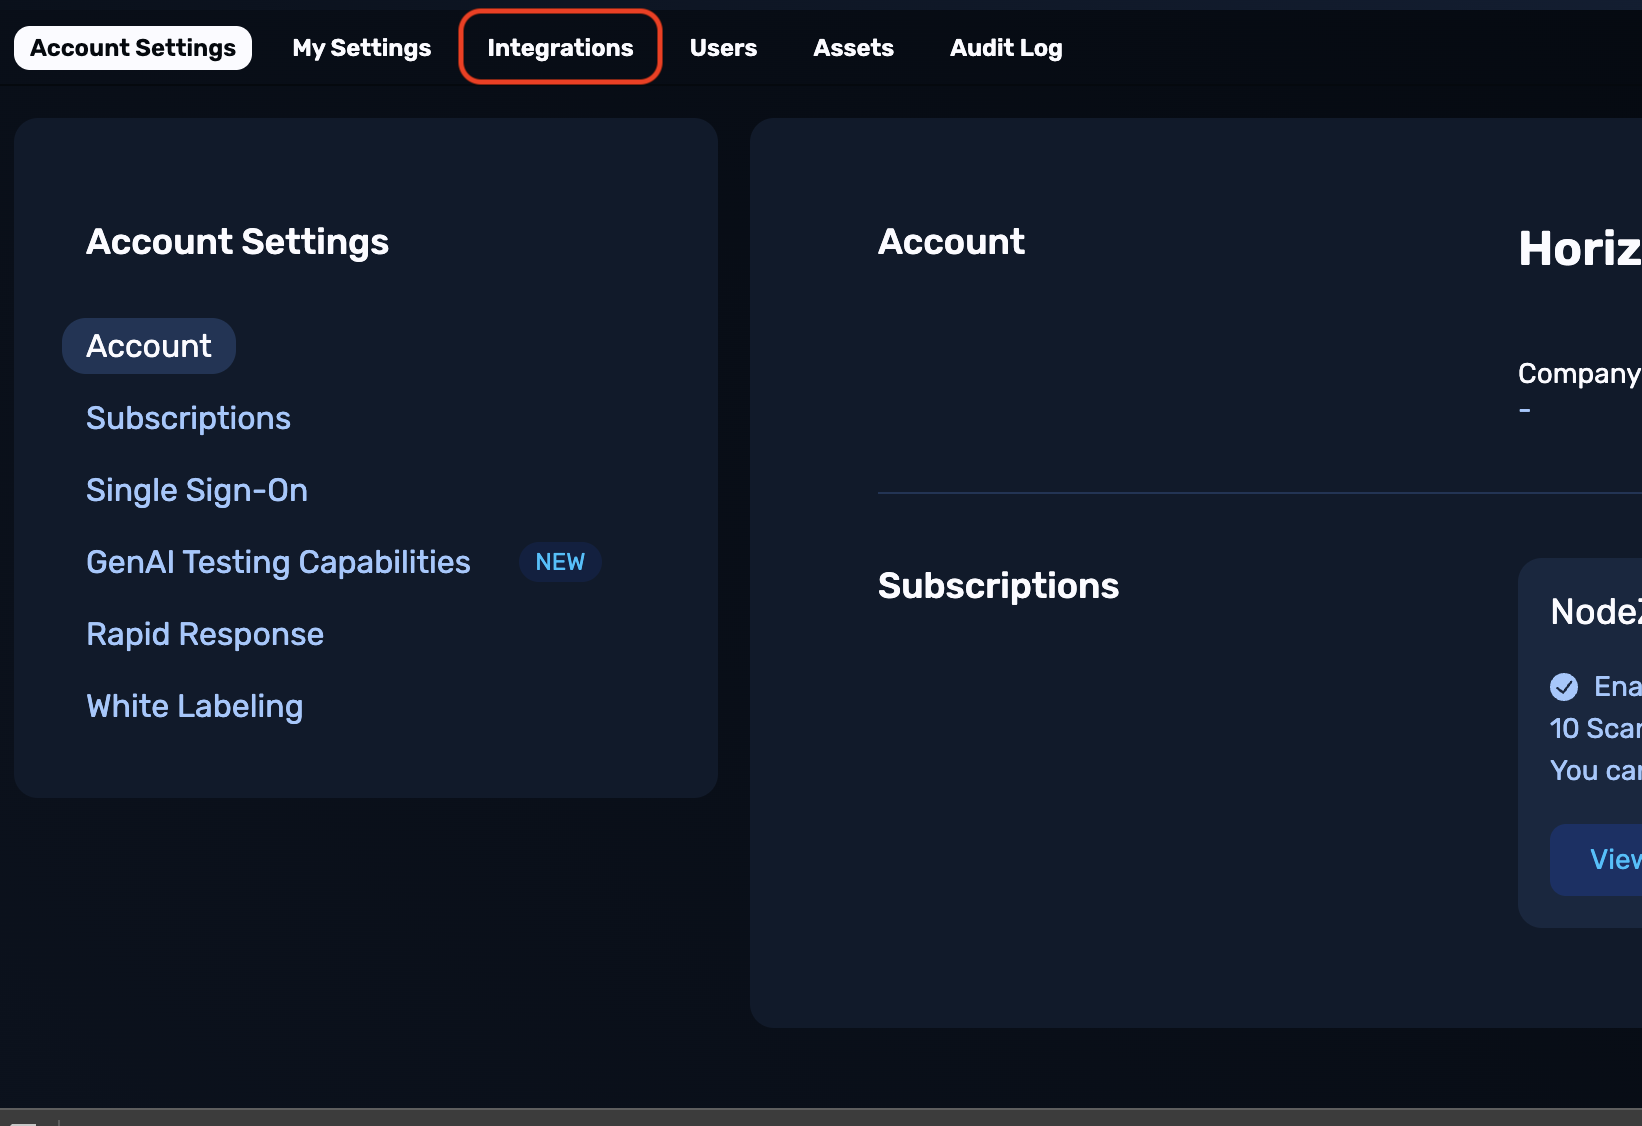
Navigate to the Integrations Page
From the subnav, click Integrations or Integrations (Legacy).
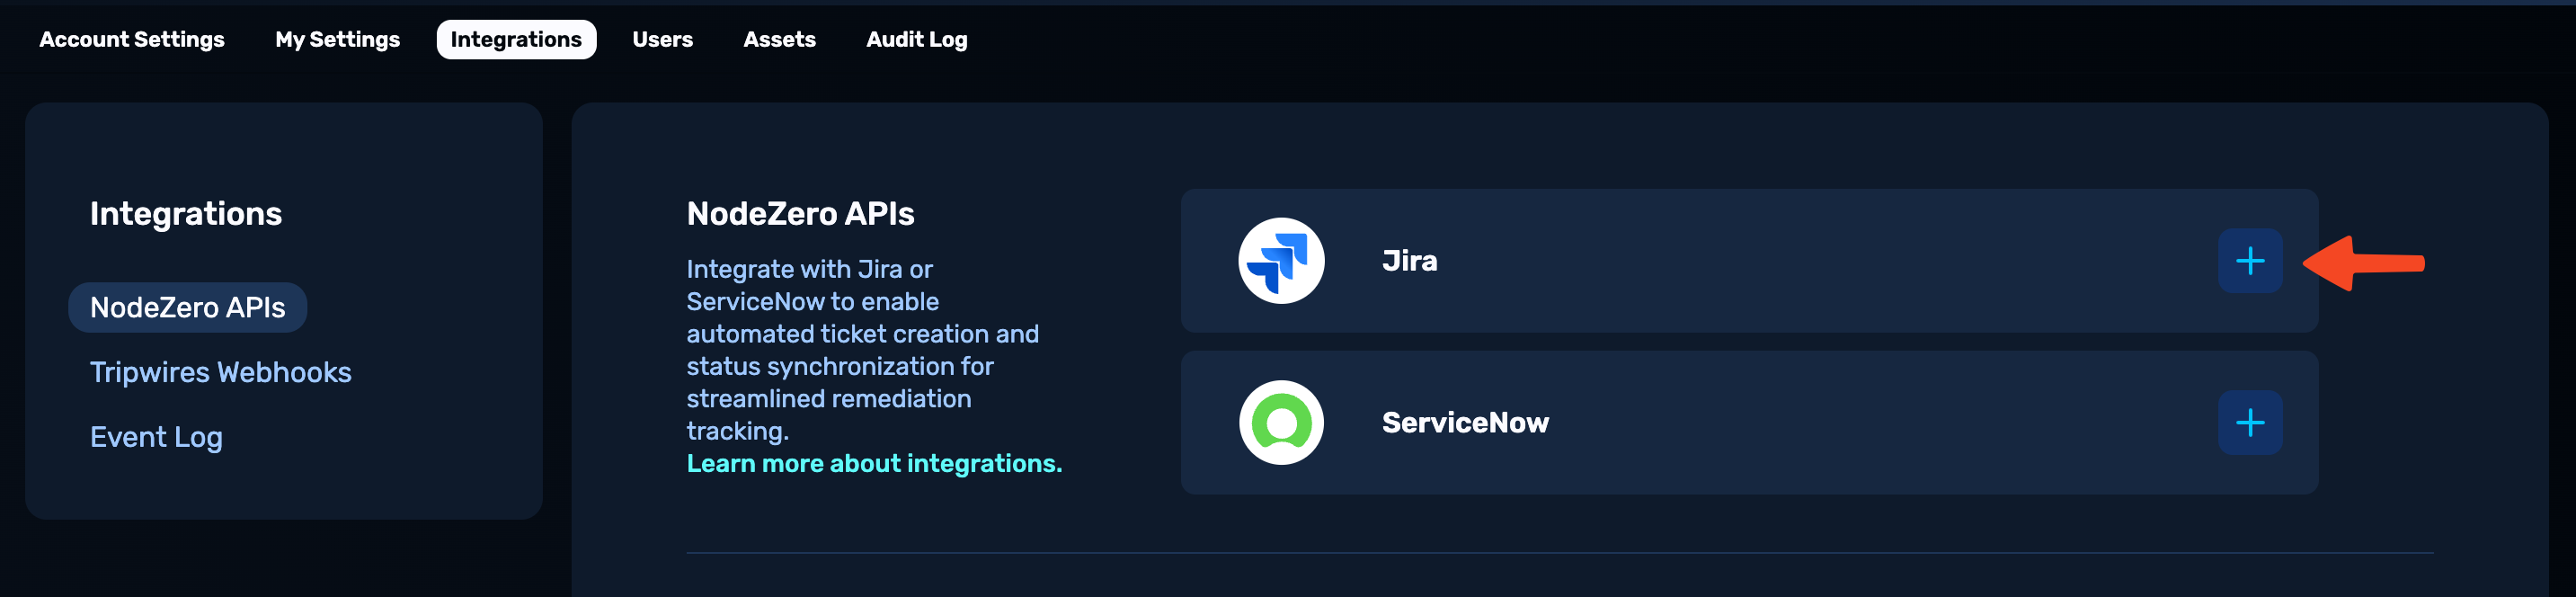
Start Configuration
In the NodeZero APIs section, choose Jira from the list. Then press the + button.
Save and Test Configuration
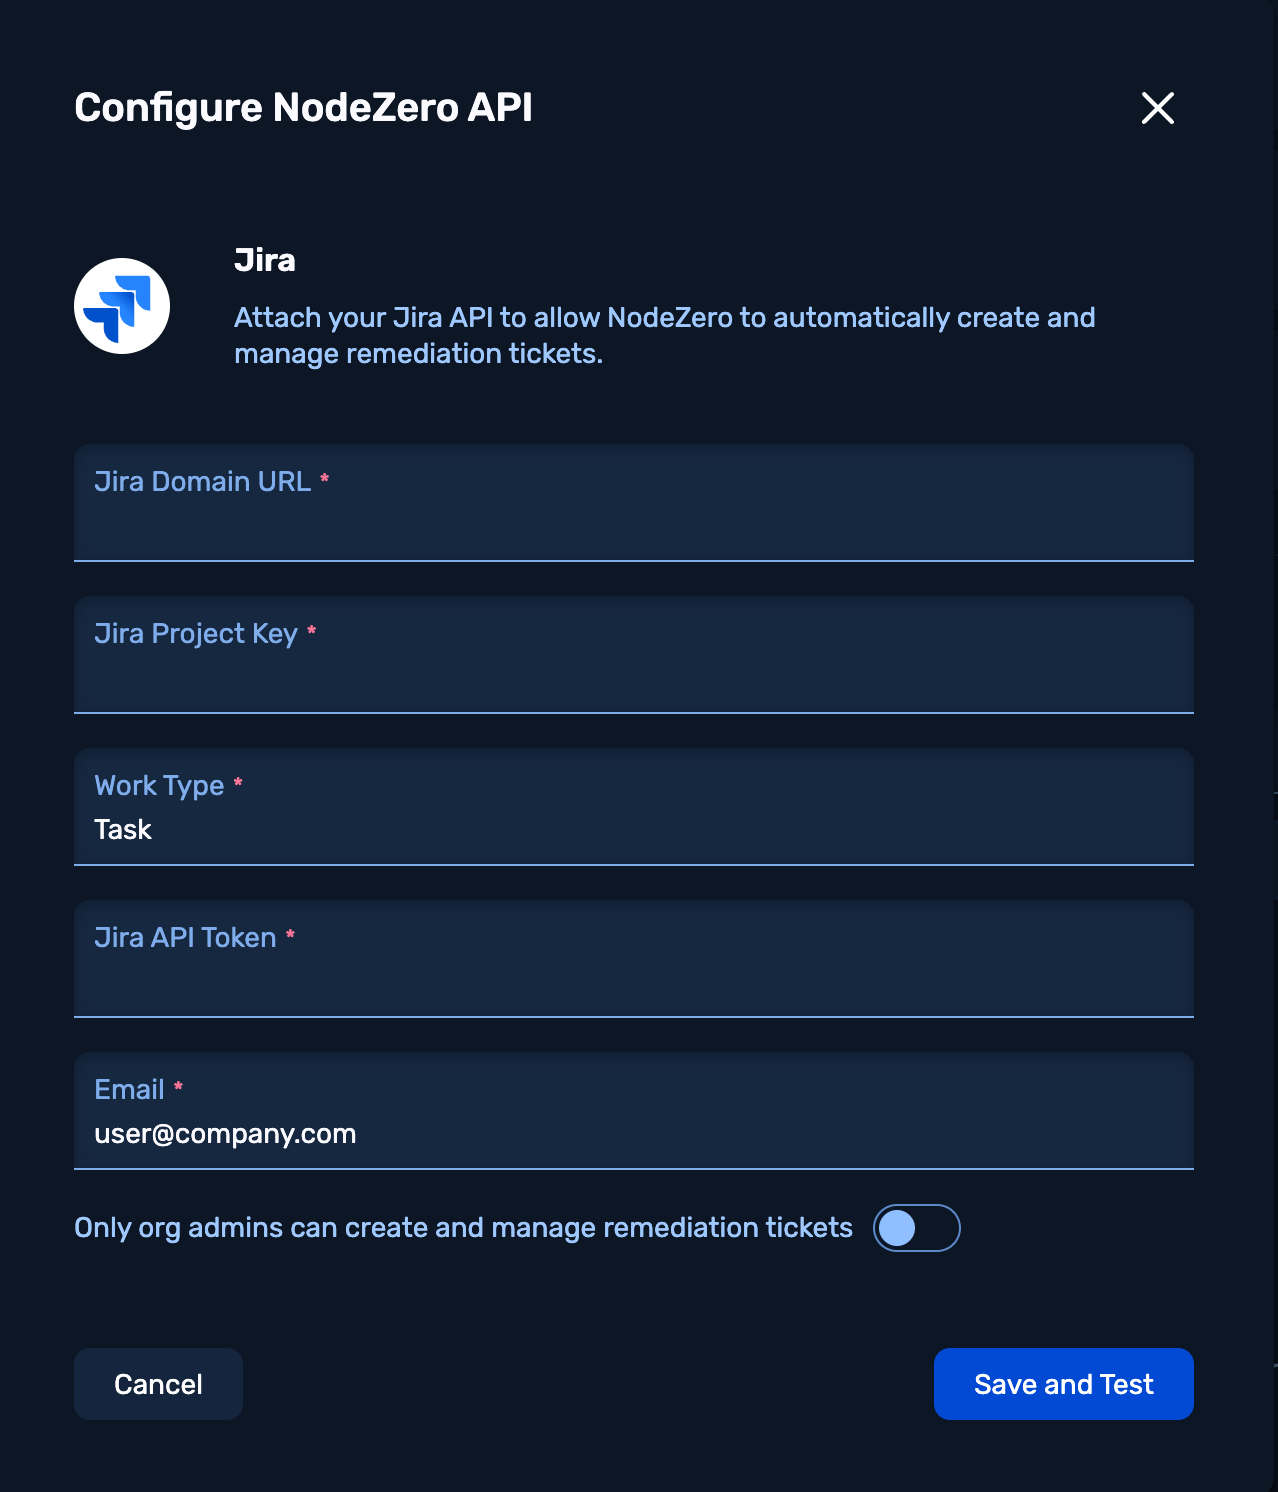
In the modal shown below, enter the details required to define the configuration:
| Field | Description |
|---|---|
| Jira Domain URL | URL to your Jira instance (e.g. https://[project name].atlassian.net). |
| Jira Project Key | Enter the project key to the board where tickets will be dispatched. Project keys are used to prefix tickets (e.g., NZDEMO-1 is a ticket in the project NZDEMO). |
| Work Type | Tickets are dispatched as Tasks. Make sure the Task issue type is enabled for the project. |
| Jira API Token | Token generated in Jira. For more instructions on how to create an API key for the integration, see Set Up API Key in Jira. |
| Email associated with the API key from above. Doesn’t need to be the email address associated with the NodeZero account. | |
| Only org admins can create and manage remediation tickets | Select whether only org admins can dispatch tickets or if all users within the org can. |
Configure Webhooks
Configure a webhook for Vulnerability Management. You must set up Jira ticketing integration before setting up a webhook (see Configure Vulnerability Management APIs for instructions)
Note
This section is for setting up Vulnerability Management Webhooks only. For Tripwires Webhooks, see Splunk or Sentinel.
Start Webhook Configuration
On the Settings > Integrations or Integrations (Legacy) page, open up the details for the existing Jira integration. Click Set Up Webhook.

Save and Test Webhooks
First, configure your Webhook in Jira, For details, see Set Up Webhook in Jira.
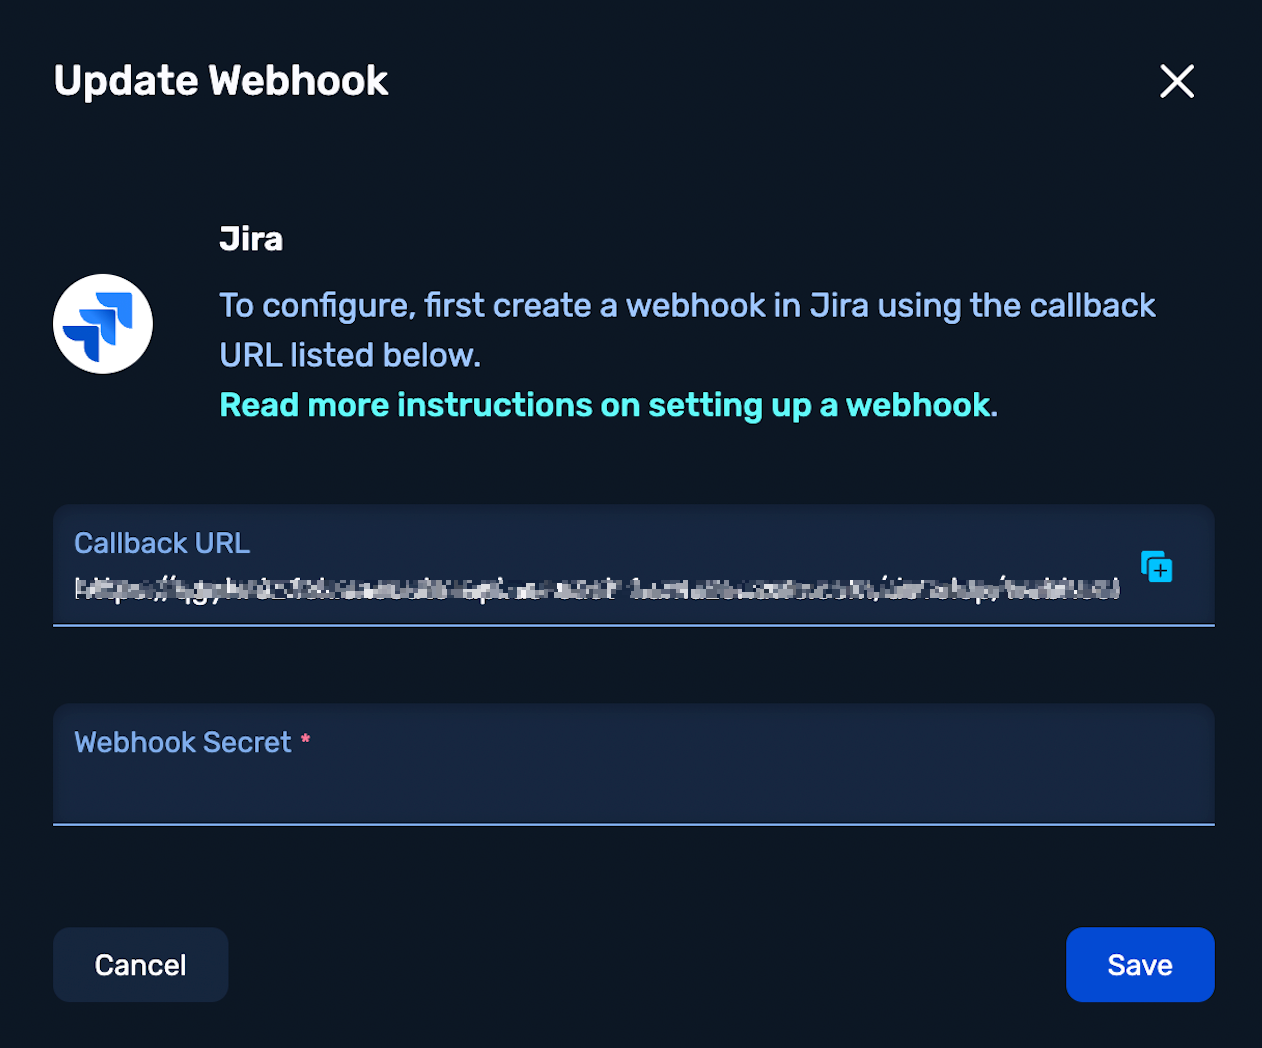
Use the Callback URL provided in the modal shown below. Once you've created the Webhook in Jira, copy its token and paste it into this modal's Webhook Secret field.
NodeZero calls will originate from the following IPs, which your allowlist should include.
 US:
US: 34.205.83.168/32 EU:
EU: 3.71.244.4/32
Set Up API Key in Jira
- Go to the API Tokens page in the Atlassian account settings.
- Click
Create API Token. Fill out the form and clickCreate. - Once created, copy the API token to paste in the Save and Test Configuration.
Set Up Webhook in Jira
- In Jira, go to
System Settings. UnderAdvanced, clickWebHooks. - You can also go directly to
{url}/plugins/servlet/webhookswhere{url}is the domain URL from the API integration config. - Click
Create Webhookand fill out the form. - URL: Callback URL provided from the Webhook form (see Save and Test Webhooks).
- Secret: Generate a secret. Then copy this field's contents to paste in at Save and Test Webhooks.
- Issue Related Events:
- In JQL, specify
project = {project}where{project}is the full name of the project (not the key). - Check
updatedunderIssue. - Click
Create.
- In JQL, specify