Create a Scope (Asset Group)
To run an external pentest, first create a Scope (called an Asset Group in earlier NodeZero Versions).
Navigate to Inventory
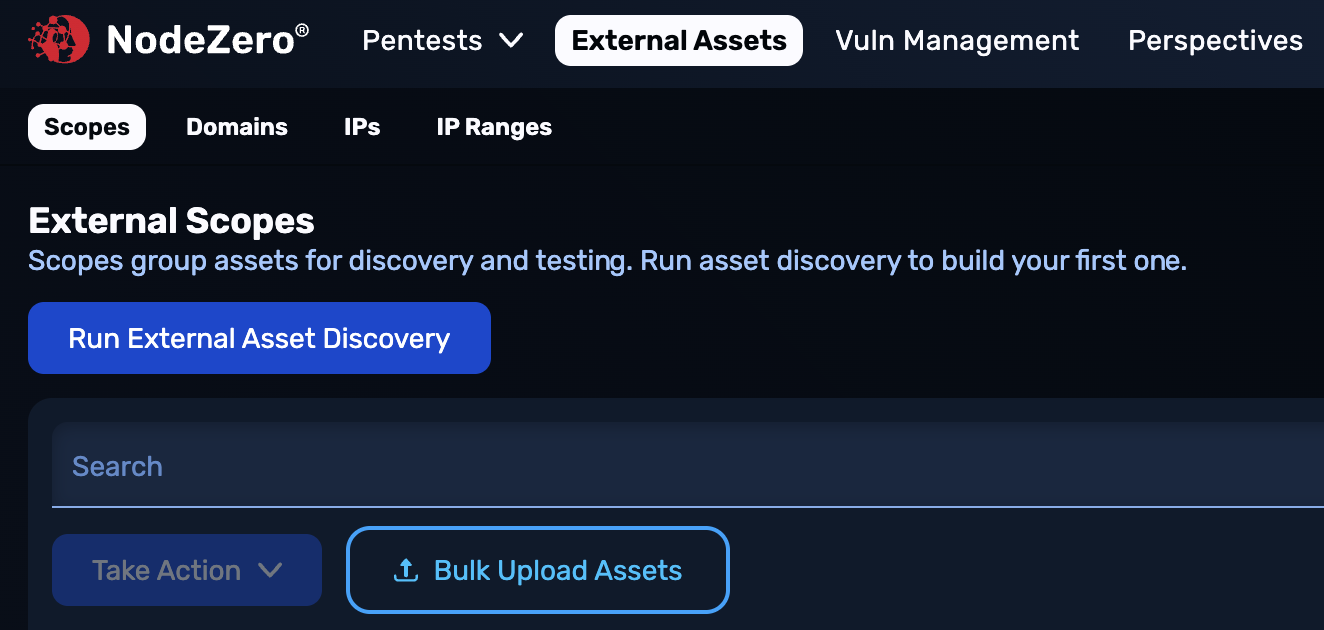
From the NodeZero Portal's top navigation, select Inventory, as shown below.
Configure the Scope
Unless you want to define your Scope by bulk-uploading assets, kick off UI-guided configuration of your Scope by clicking the Run External Asset Discovery button.
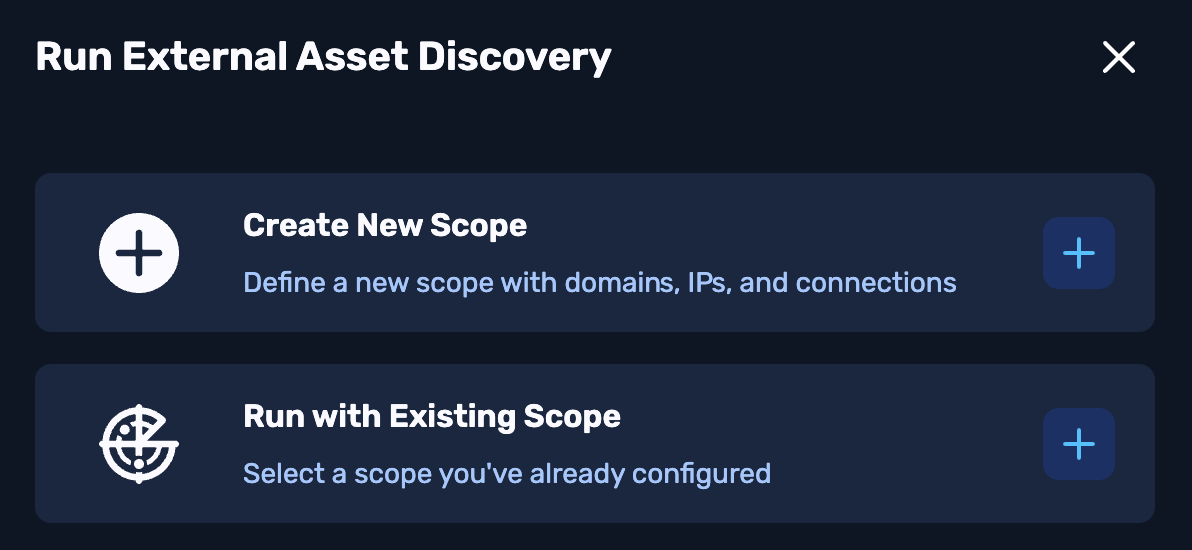
From the resulting modal shown below, click the + button to the right of Create New Scope.
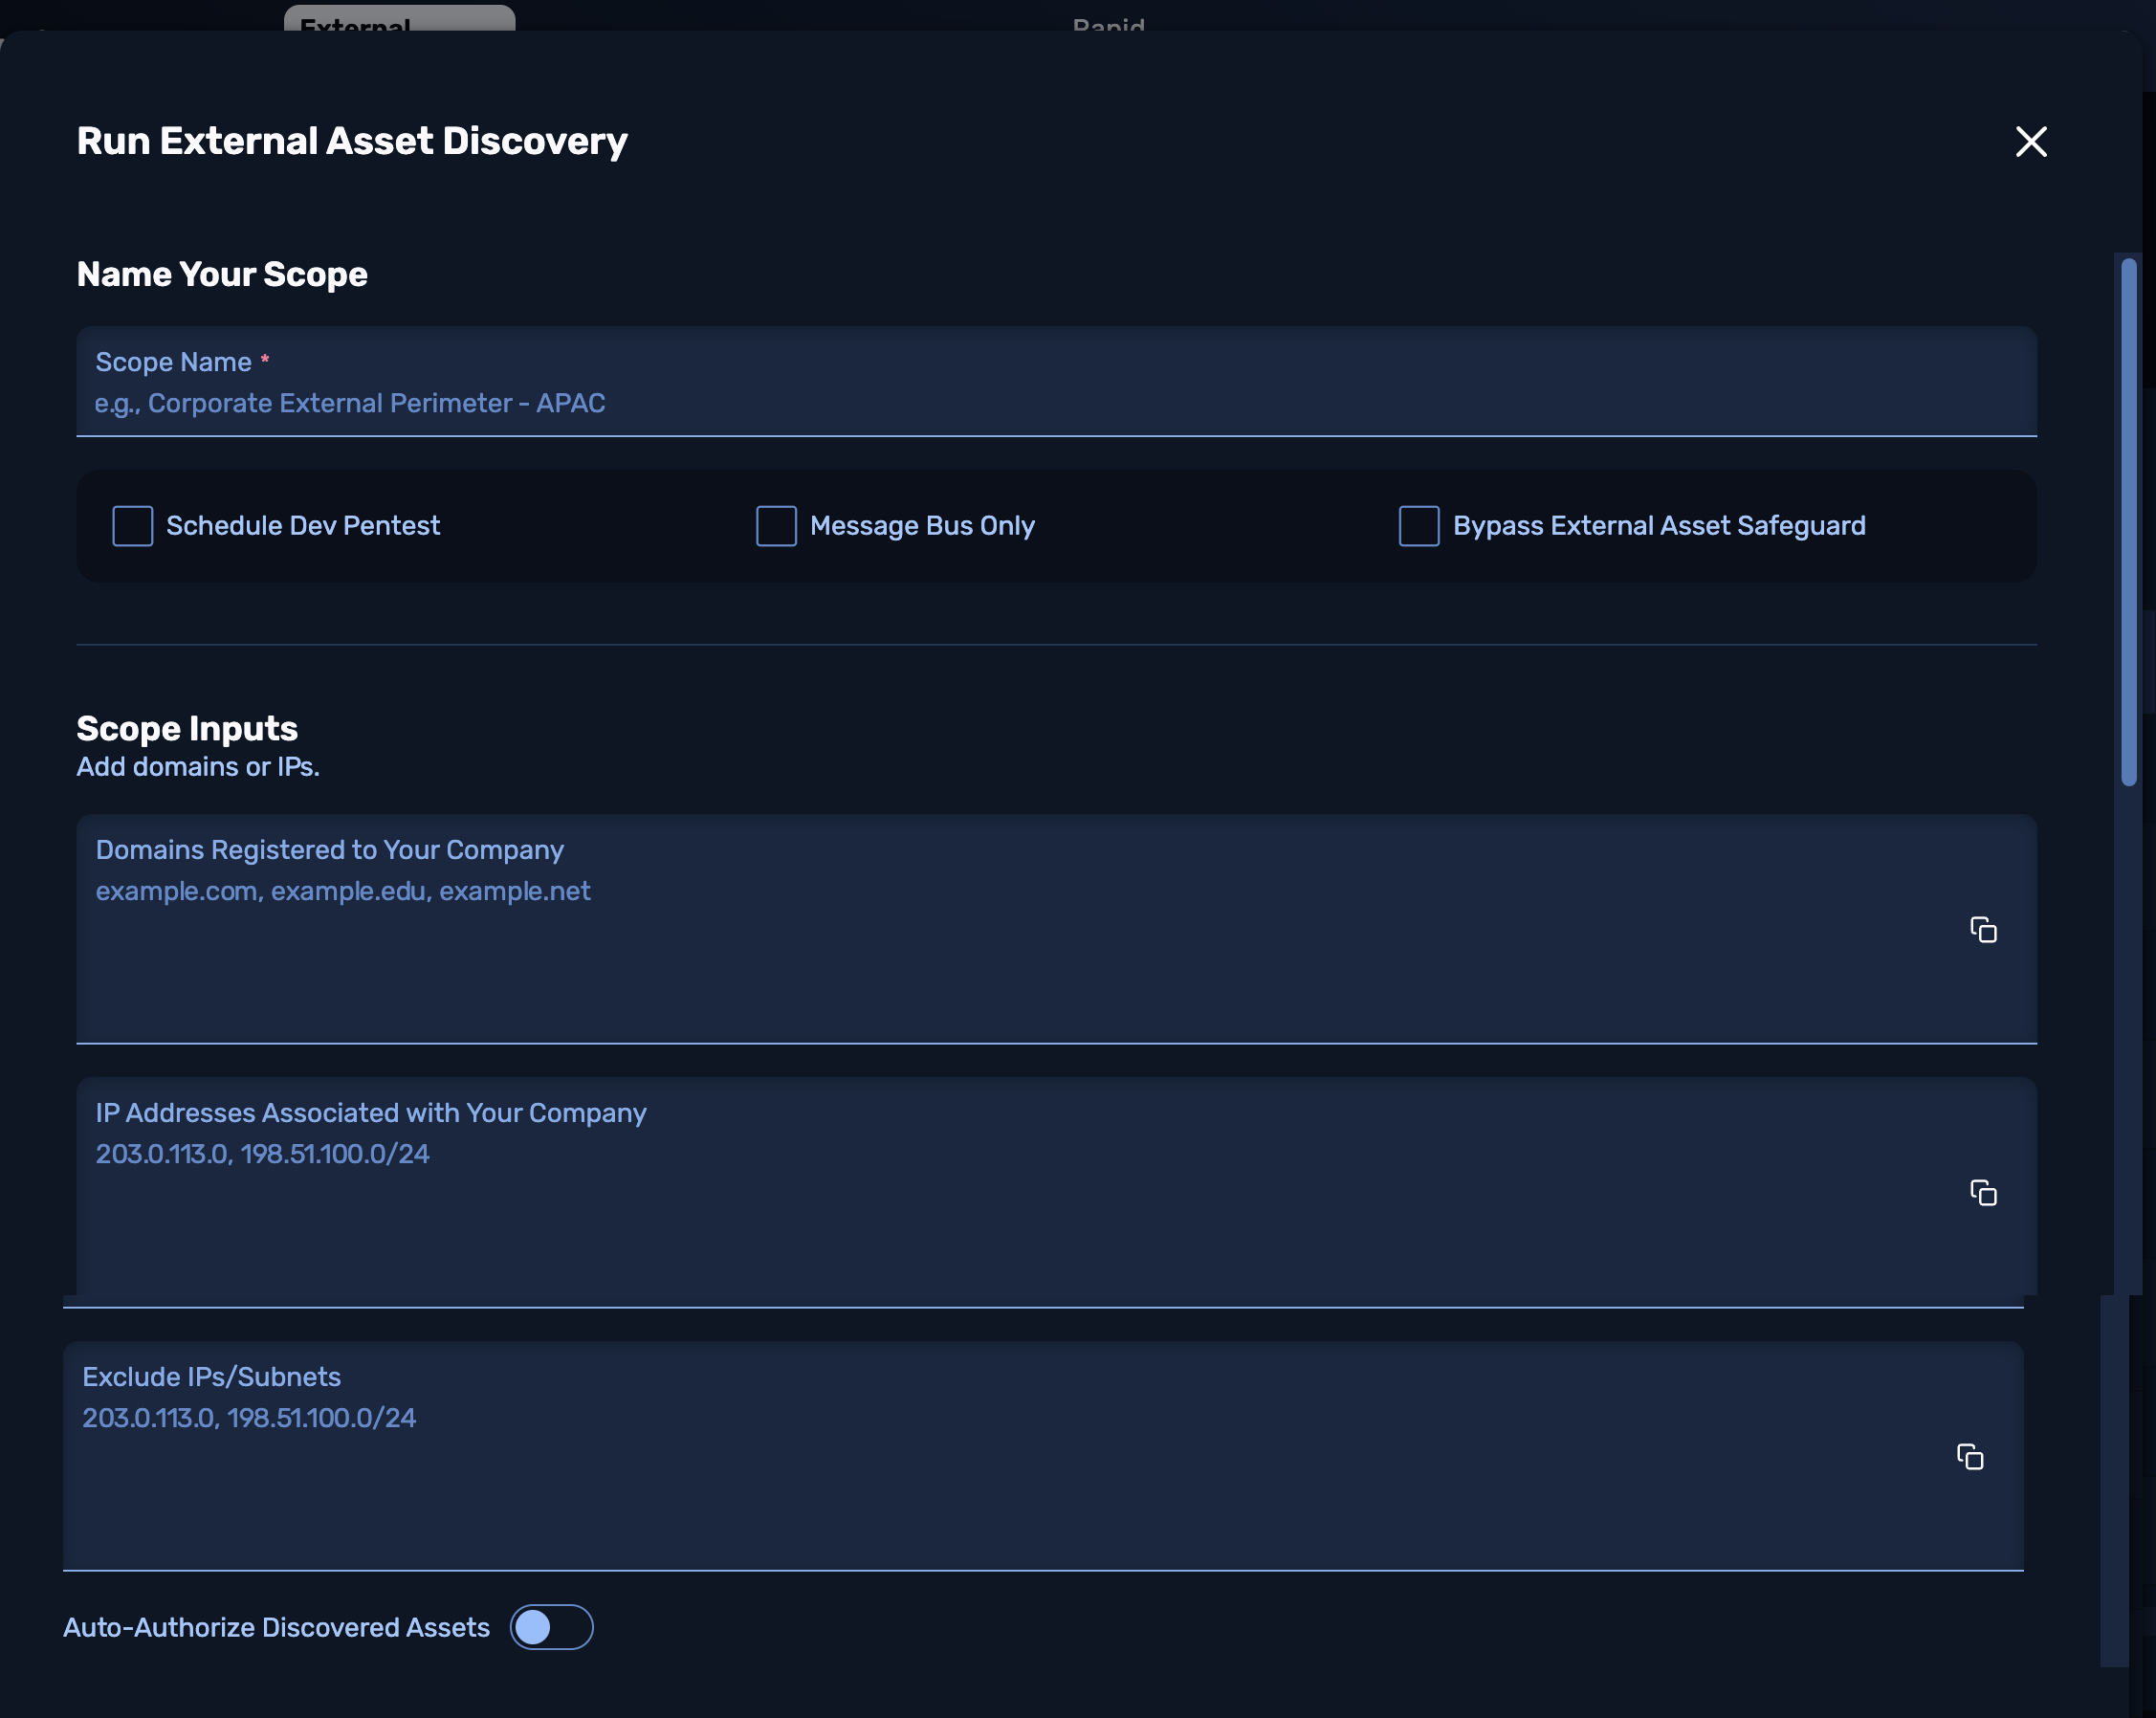
In the resulting Run External Asset Discovery modal, use the following steps to define a Scope.
Set Scope's Name and Inputs
Name the Scope and define its inputs (your organization's assets). You can specify registered domains and associated IP addresses to include, and can also specify IPs and subnets to exclude.
IPs must be public, must be formatted using IP/CIDR notation, and must be comma-separated in each list. Please specify network segments of /16 or smaller (e.g., /18, /23, /24). See also Add IP Ranges below.
In this top section of the modal, other options are:
-
Toggle on Auto-Authorize Discovered Assets.
-
Toggle on Get IP before starting External Asset Discovery where NodeZero's own IP needs to be allowlisted before running discovery. This works much like the similar option in running the pentest.
Add AWS and Git Connections (Optional)
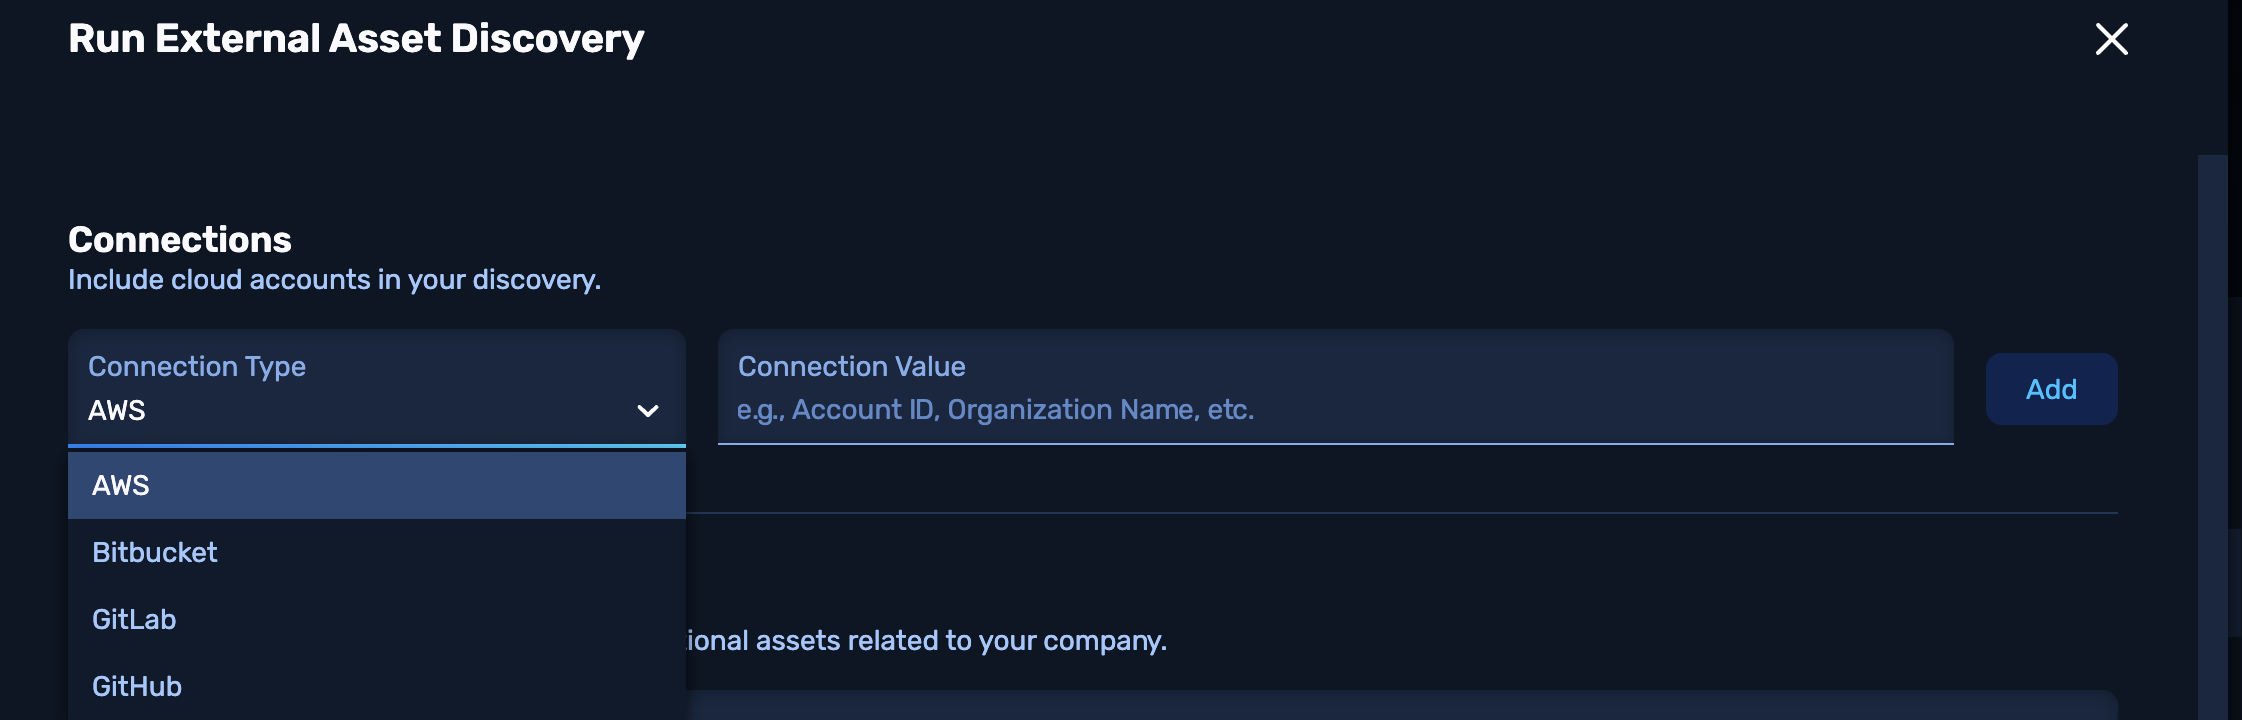
In the Connections section (shown below), you have the option to specify your organization's accounts on AWS, GitHub, GitLab, and/or Bitbucket. Listing these related accounts enables NodeZero to confirm ownership of these accounts, to perform a more thorough enumeration of assets.
Use the left Connection Type drop-down to select a vendor. Use the right Connection Value field to specify your corresponding account ID (e.g., a 12-digit AWS ID) or organization name. Click Add to insert each pair into the Scope's configuration.
Add OSINT Data
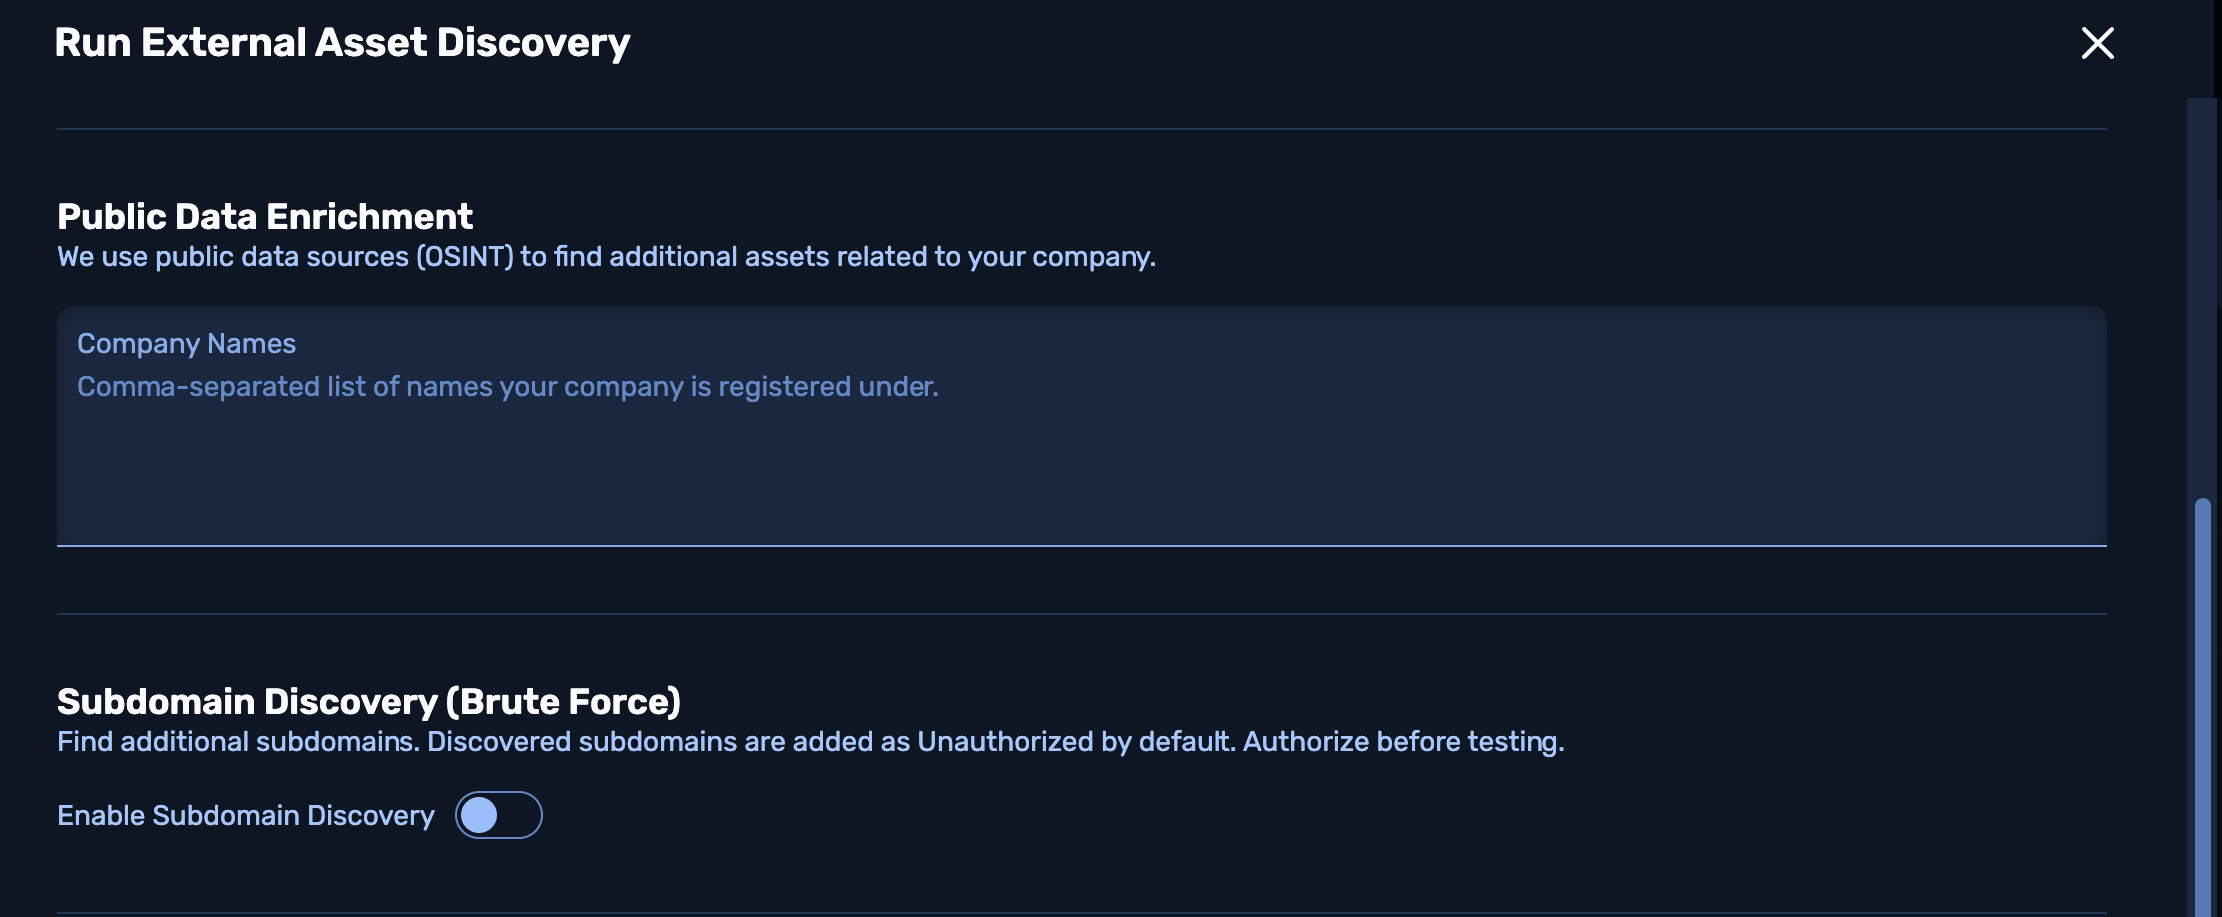
In the Public Data Enrichment section, you can add multiple names under which your organization is registered. Using these entries, NodeZero will apply Open Source Intelligence (OSINT) gathering tools and techniques to harvest additional related assets.
You can also specify IPs and subnets to exclude. As in Scope Inputs, both lists should be comma-separated.
Add Subdomain Discovery (Optional)
You can enable NodeZero's brute-force discovery of well-known subdomains that might not surface through OSINT discovery. You'll need to explicitly authorize these discovered subdomains for testing.
Enable Schedule (Optional)
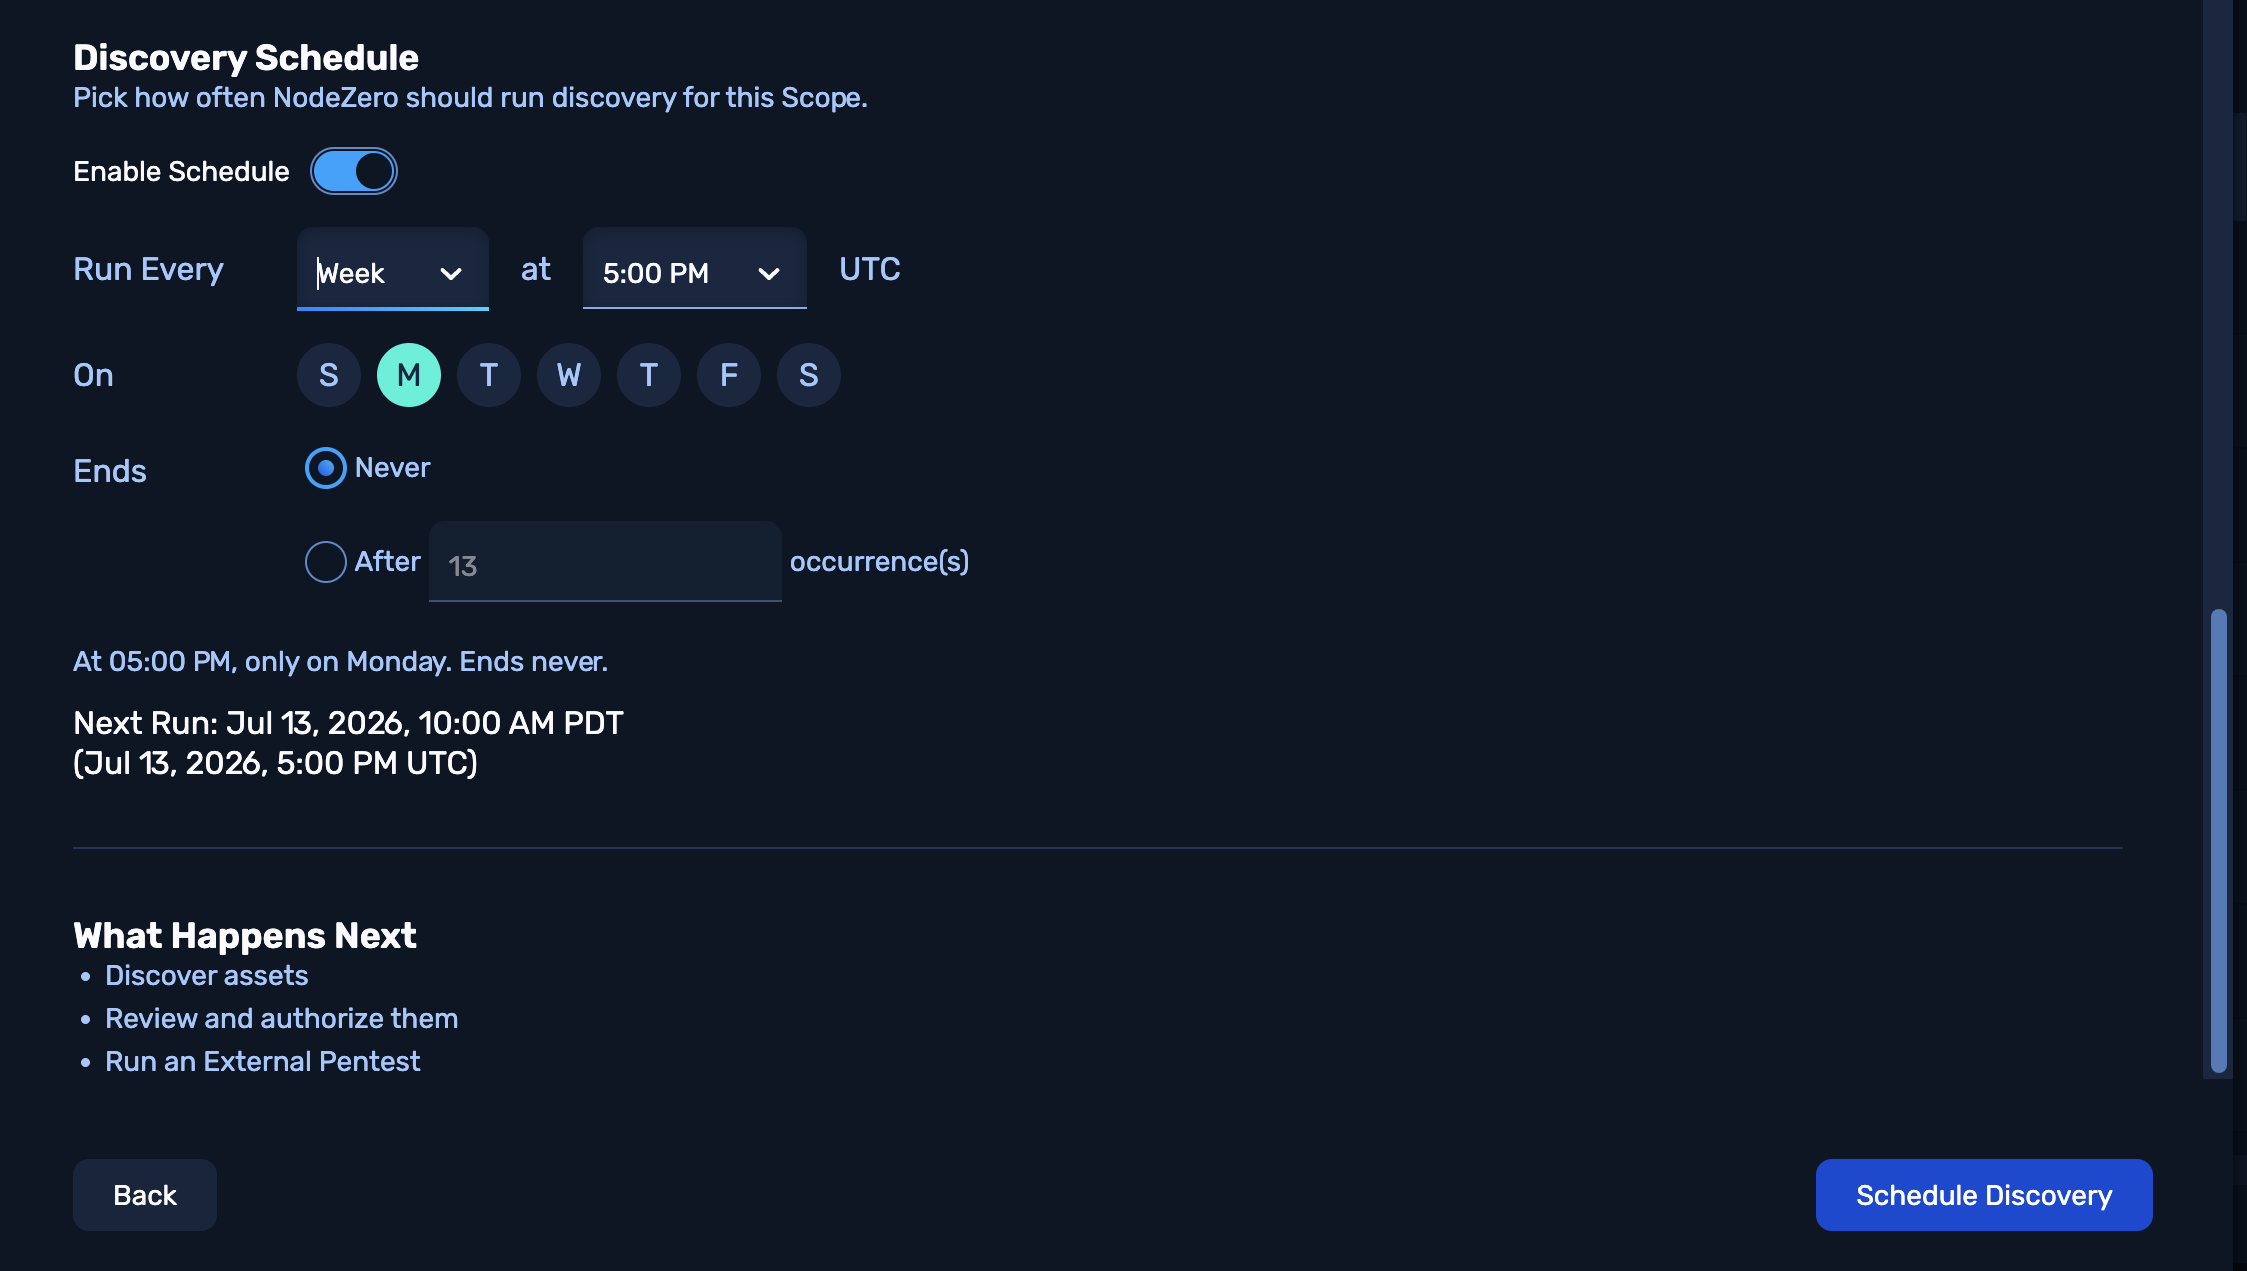
You can use the Discovery Schedule controls, shown below, to set a cron job that defines repeated discovery.
Once satisfied with all of the configuration options above, click Start Discovery.
Bulk Upload Assets
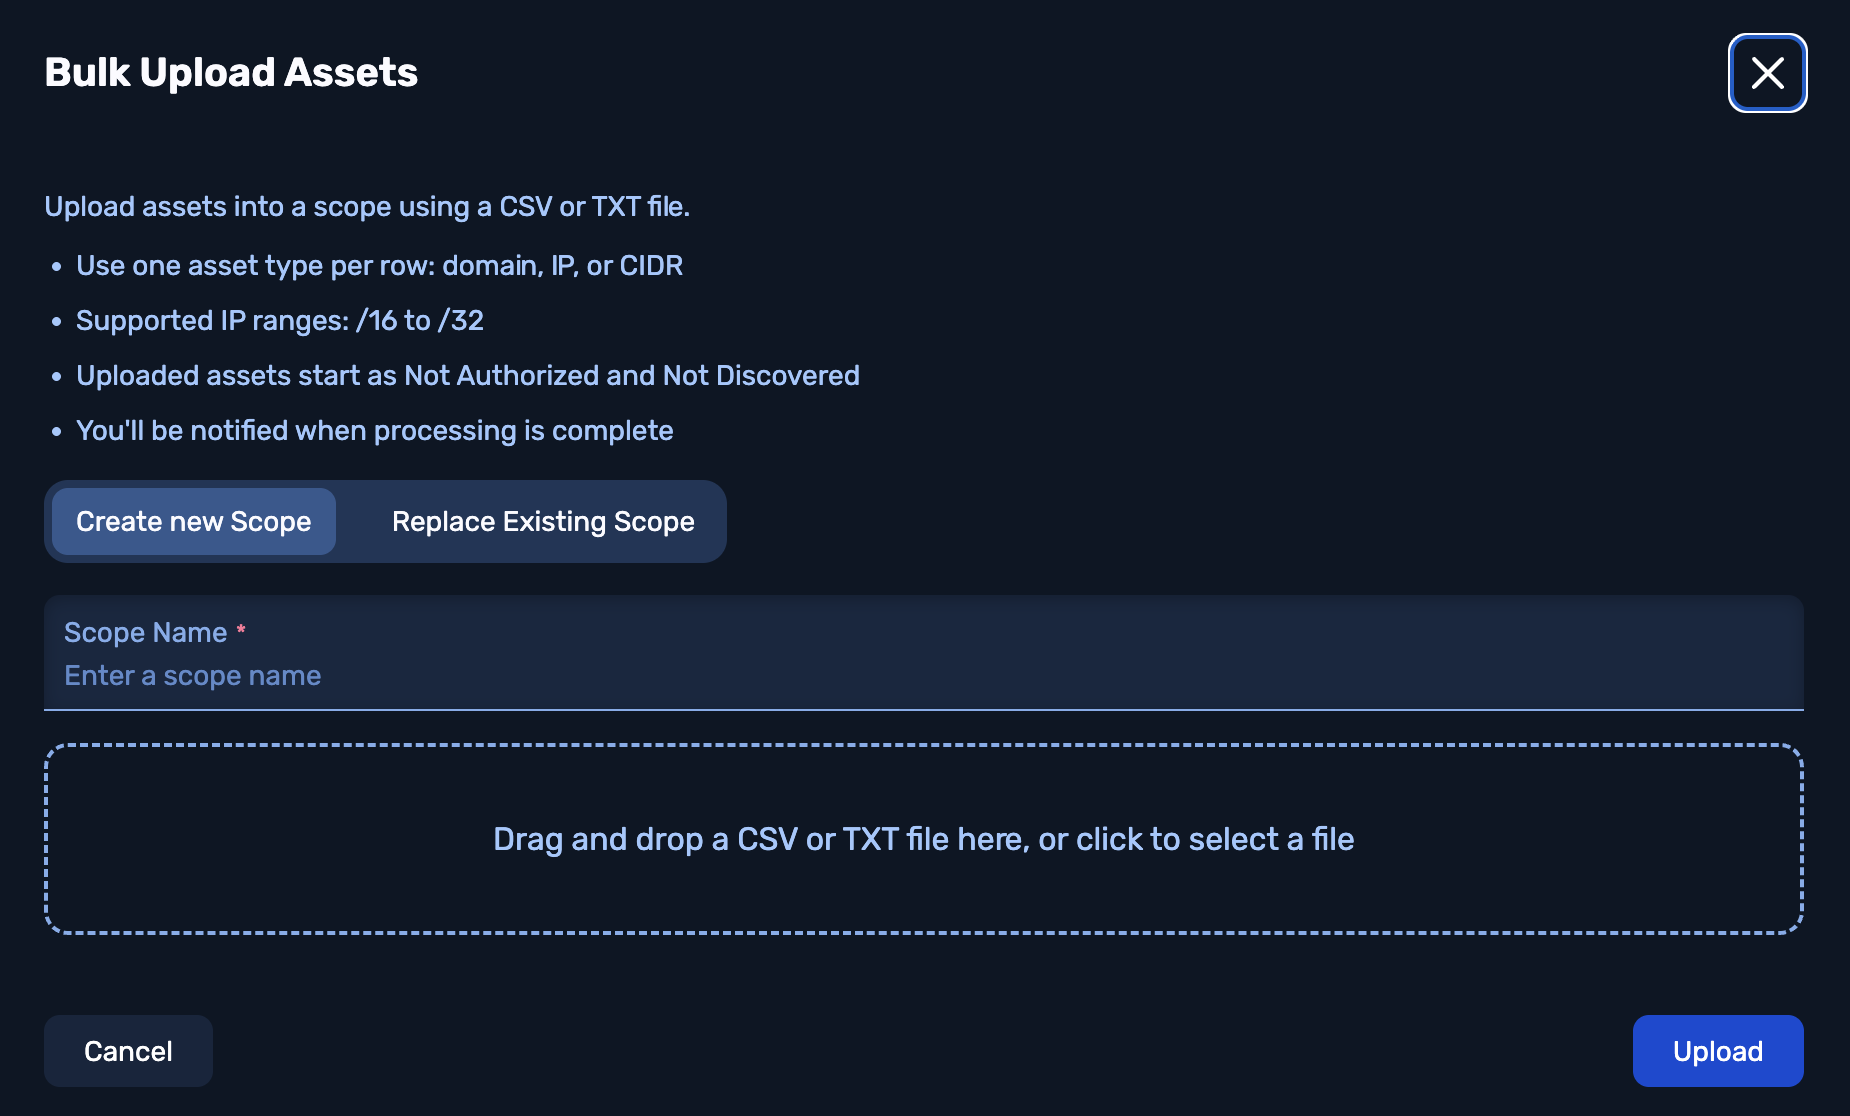
As an alternative to the guided configuration outlined above, you can define (or replace) a Scope by preparing and uploading a comma-separated CSV or text file that lists your assets.
Click Bulk Upload Assets to initiate this, and follow the resulting modal's instructions for formatting your file.
Add IP Ranges
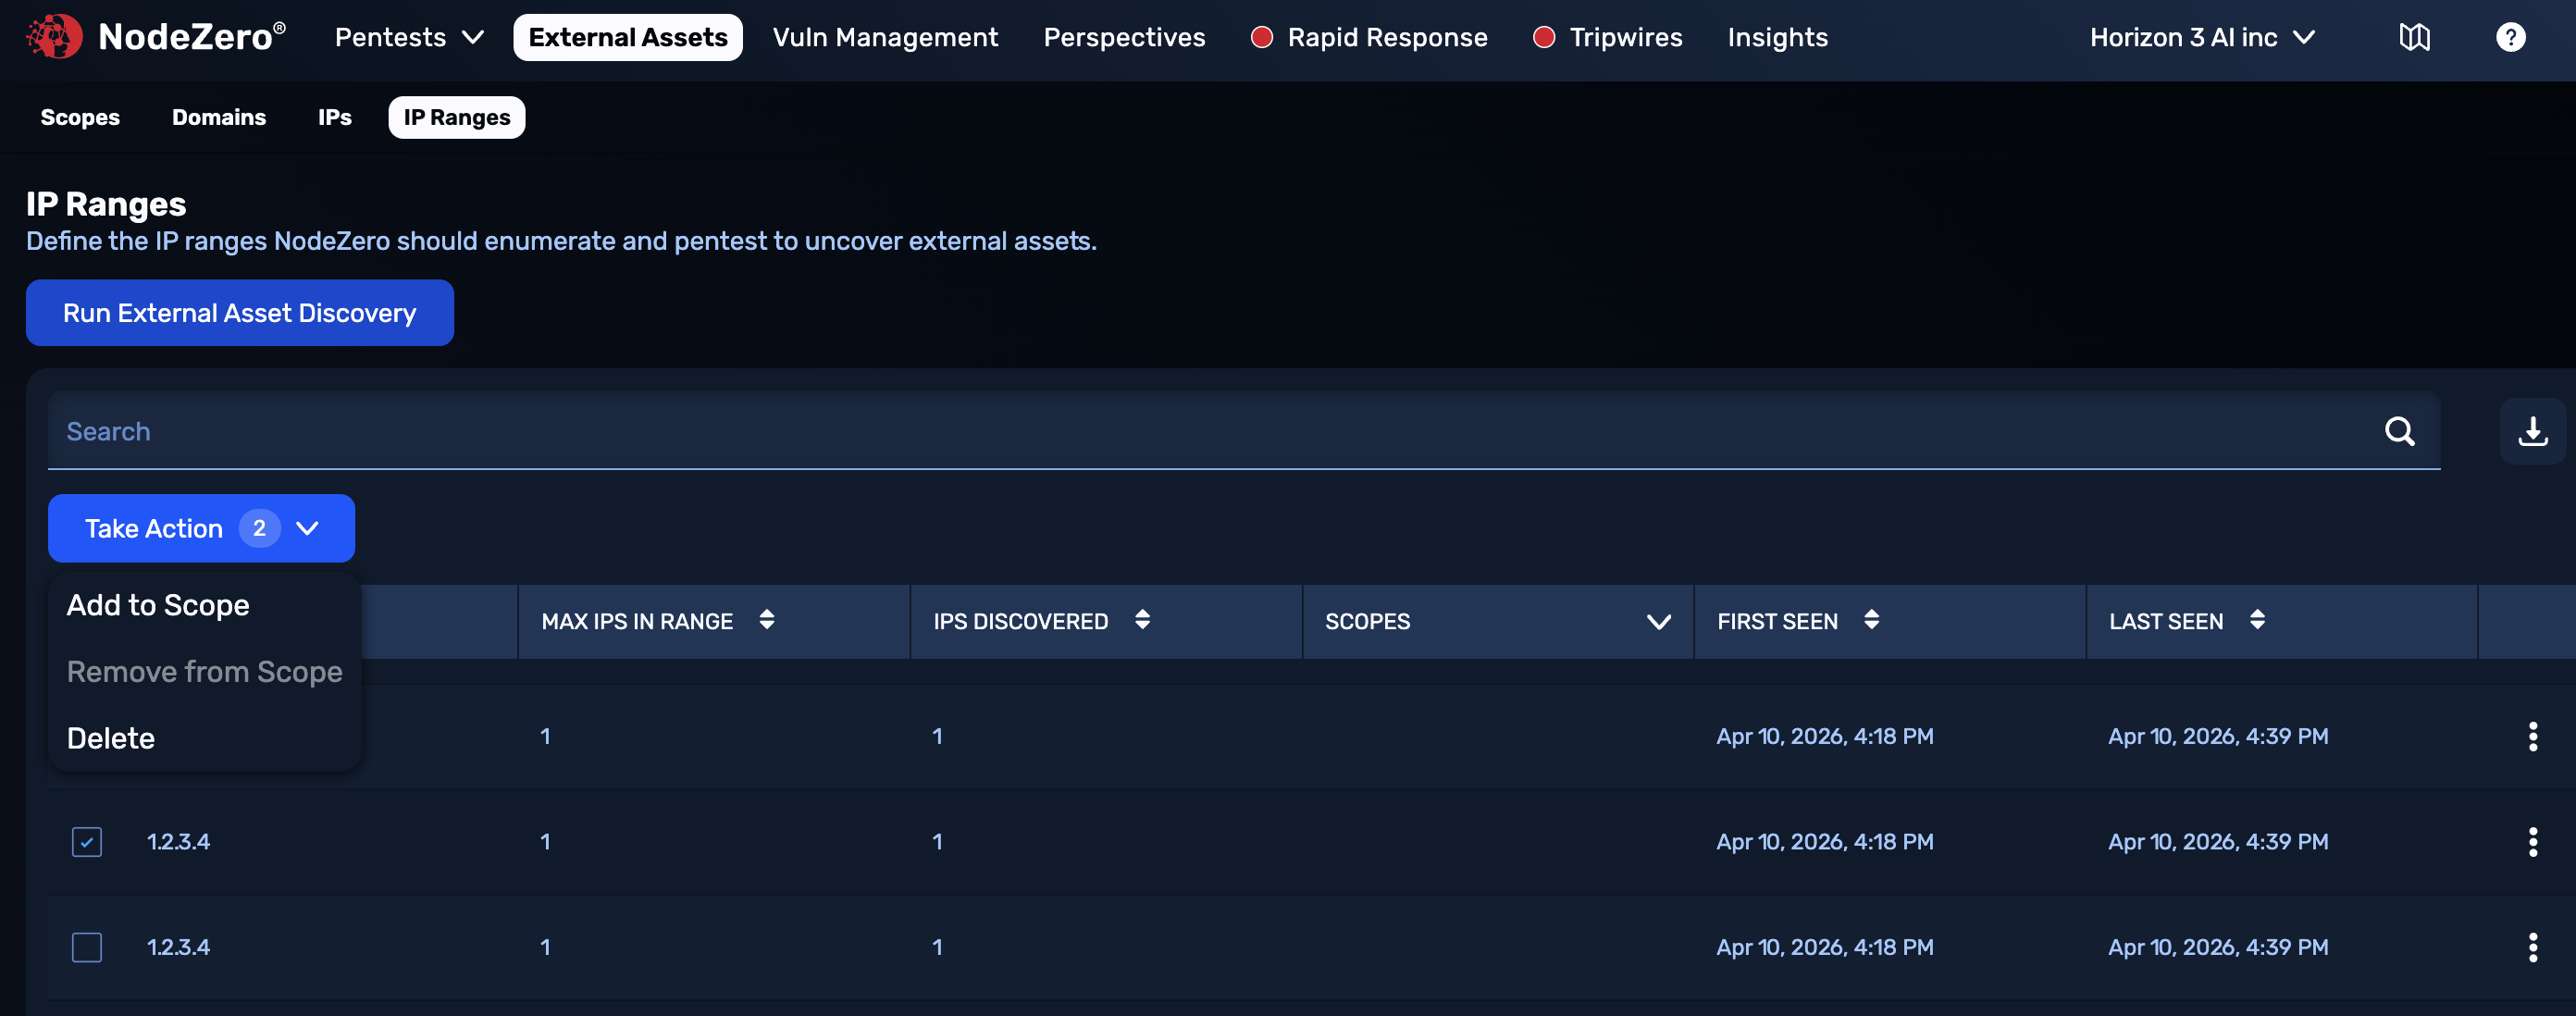
You can use the IP Ranges tab to define groups of IPs to add to a Scope. Use the check boxes at left to select ranges, then click the Take Action menu's Add to Scope option. Next, you'll need to Run External Asset Discovery again.