Kubernetes Pentest
The NodeZero Kubernetes Pentest runs from inside your Kubernetes cluster to identify security misconfigurations and weaknesses.
Why should I run a NodeZero Kubernetes Pentest?
How to Run a Kubernetes Pentest
Why Should I Run a NodeZero Kubernetes Pentest?
NodeZero runs from inside your cluster to simulate a scenario in which an attacker has gained a foothold there. As examples of such footholds, an attacker might have found an authorized user's kubeconfig file in a git repository, or might have compromised a web application running in a pod within the cluster.
By running the Kubernetes pentest from inside your cluster, and fixing the identified weaknesses, your organization can reduce the risk and impact of these attacks.
How to Run a Kubernetes Pentest
To conduct a Kubernetes Pentest against your cluster, you must first install the NodeZero Operator. The Operator will be the launch point for all the Kubernetes Pentests you run against your cluster. You need to install the Operator only once per cluster, after which it enables you to continuously test the cluster's security.
Once installed, the Operator can be used to install either a single pentest or a Runner to facilitate repeated testing:
Install the NodeZero Operator
Note these installation prerequisites:
The NodeZero Operator and Kubernetes Pentest are supported on Kubernetes Cluster versions 1.24.0 and above.
You will need to have a terminal with kubectl and Helm installed. Make sure kubectl is configured to use the context of your Kubernetes cluster.
The NodeZero Operator will need access to the following domains over port 443/TCP (Horizon3's
- gateway.horizon3ai.com
- api.gateway.horizon3ai.com
- registry.gateway.horizon3ai.com
- interact.gateway.horizon3ai.com
- gateway.horizon3ai.eu
- api.gateway.horizon3ai.eu
- registry.gateway.horizon3ai.eu
- interact.gateway.horizon3ai.eu
- gateway.horizon3ai.au
- api.gateway.horizon3ai.au
- interact-cf.gateway.horizon3ai.au
Does the NodeZero Gateway feature support the NodeZero Operator?
Yes, the NodeZero Gateway supports the NodeZero Operator and NodeZero Kubernetes Pentests.
Navigate to Kubernetes Operators
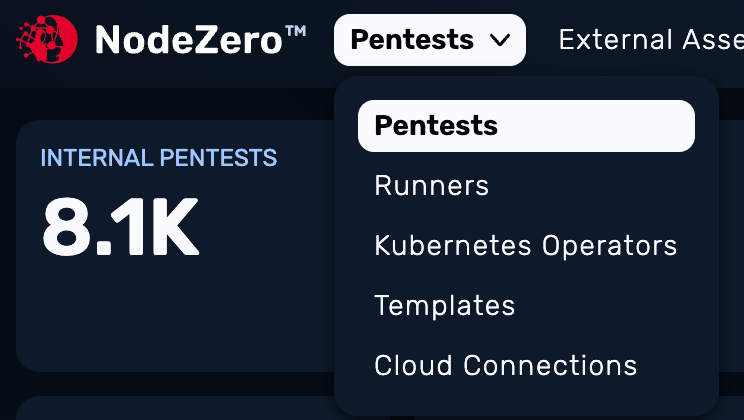
From the Pentests drop-down, select Kubernetes Operators.
Create Operator
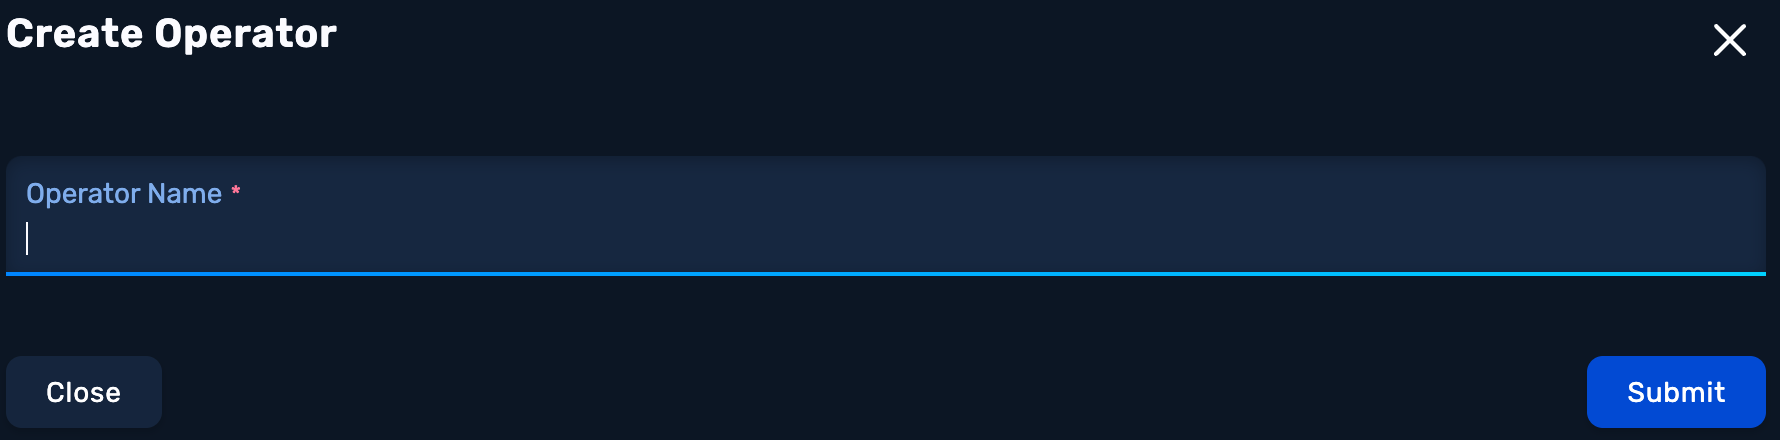
Click the Create Operator button.

Input a descriptive name and click Submit.
Install Operator
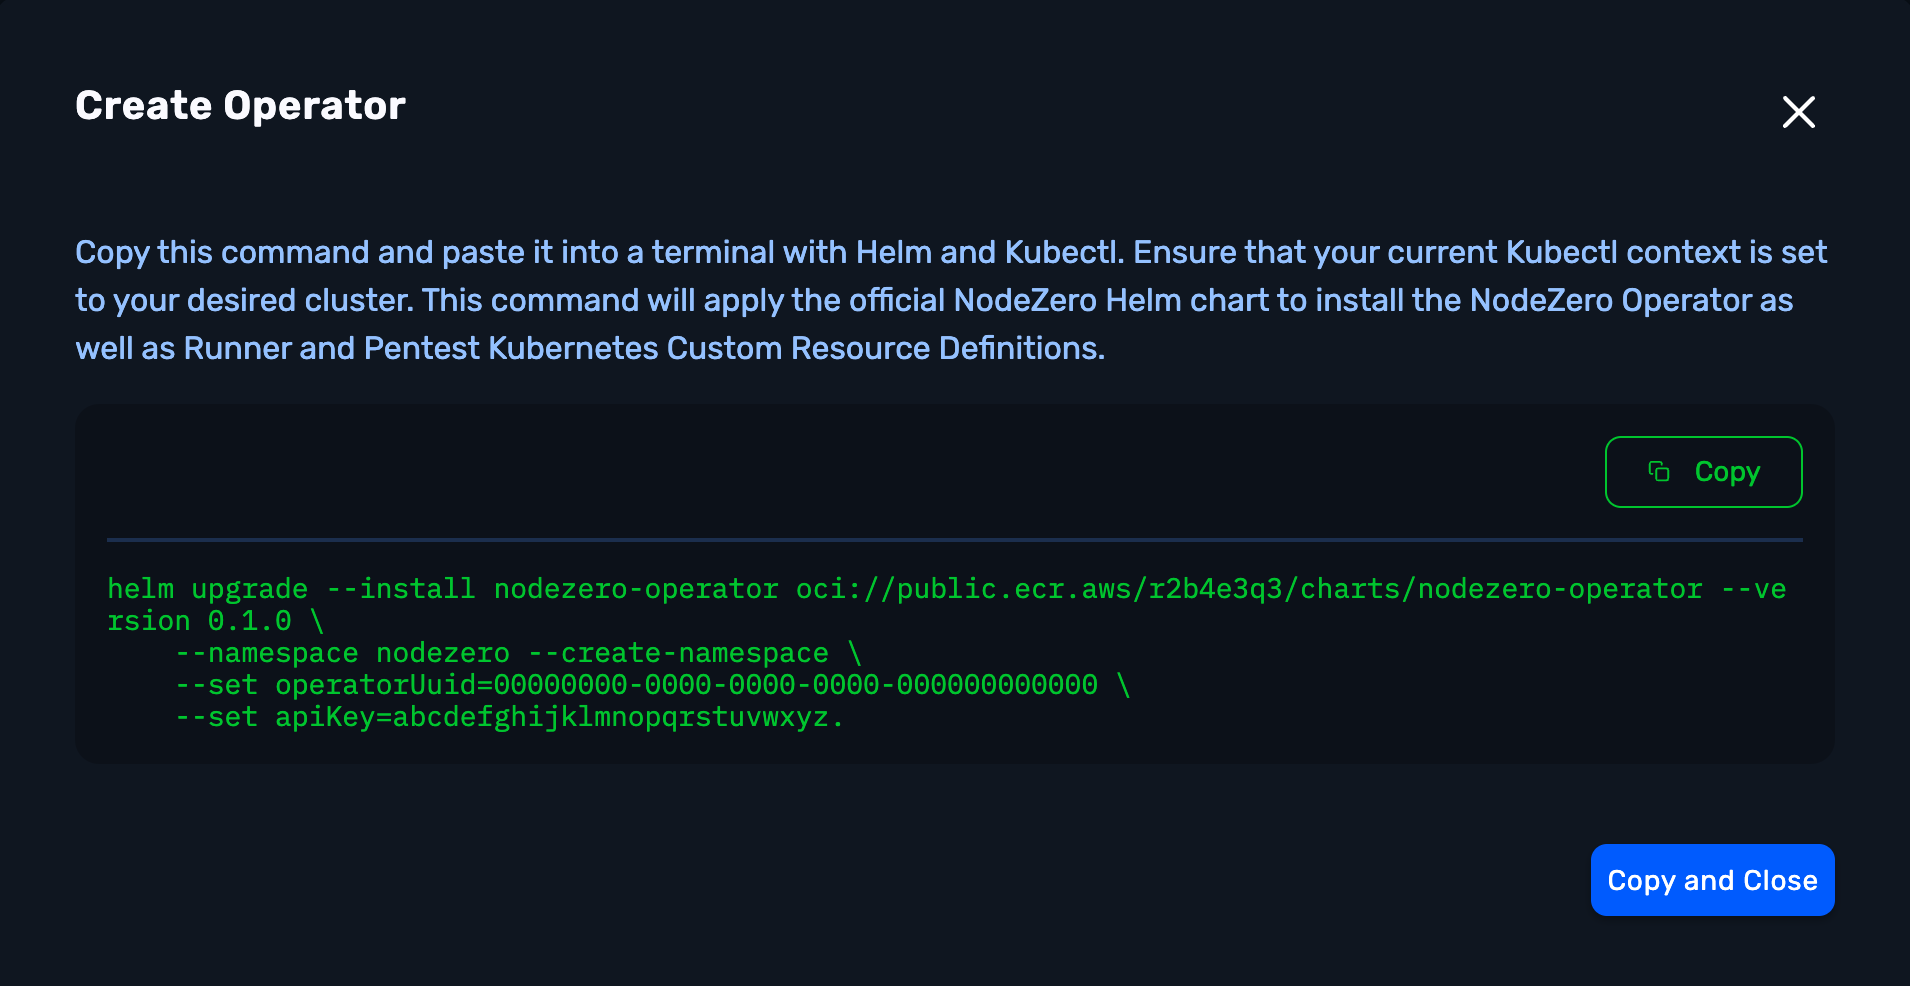
Follow the installation directions by copying the helm upgrade command and pasting it into a terminal with Helm and kubectl.
What permissions are needed to install the NodeZero Operator?
See our example Operator ClusterRole CRD (Custom Resource Definition), which includes the required permissions.
Install a Kubernetes Runner
Navigate to Runners
From the Pentests drop-down, select Runners.
Create Runner
Click the Install Runner button.
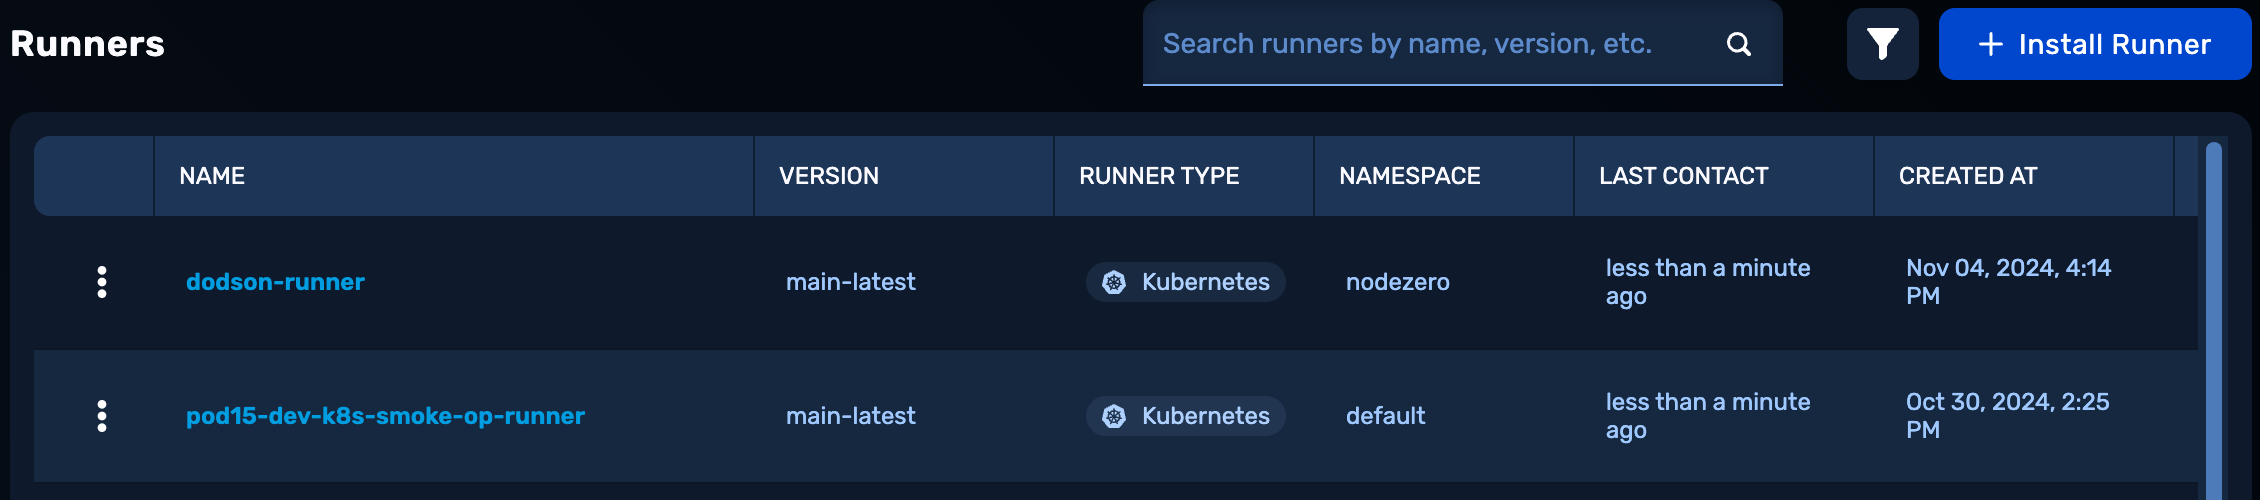
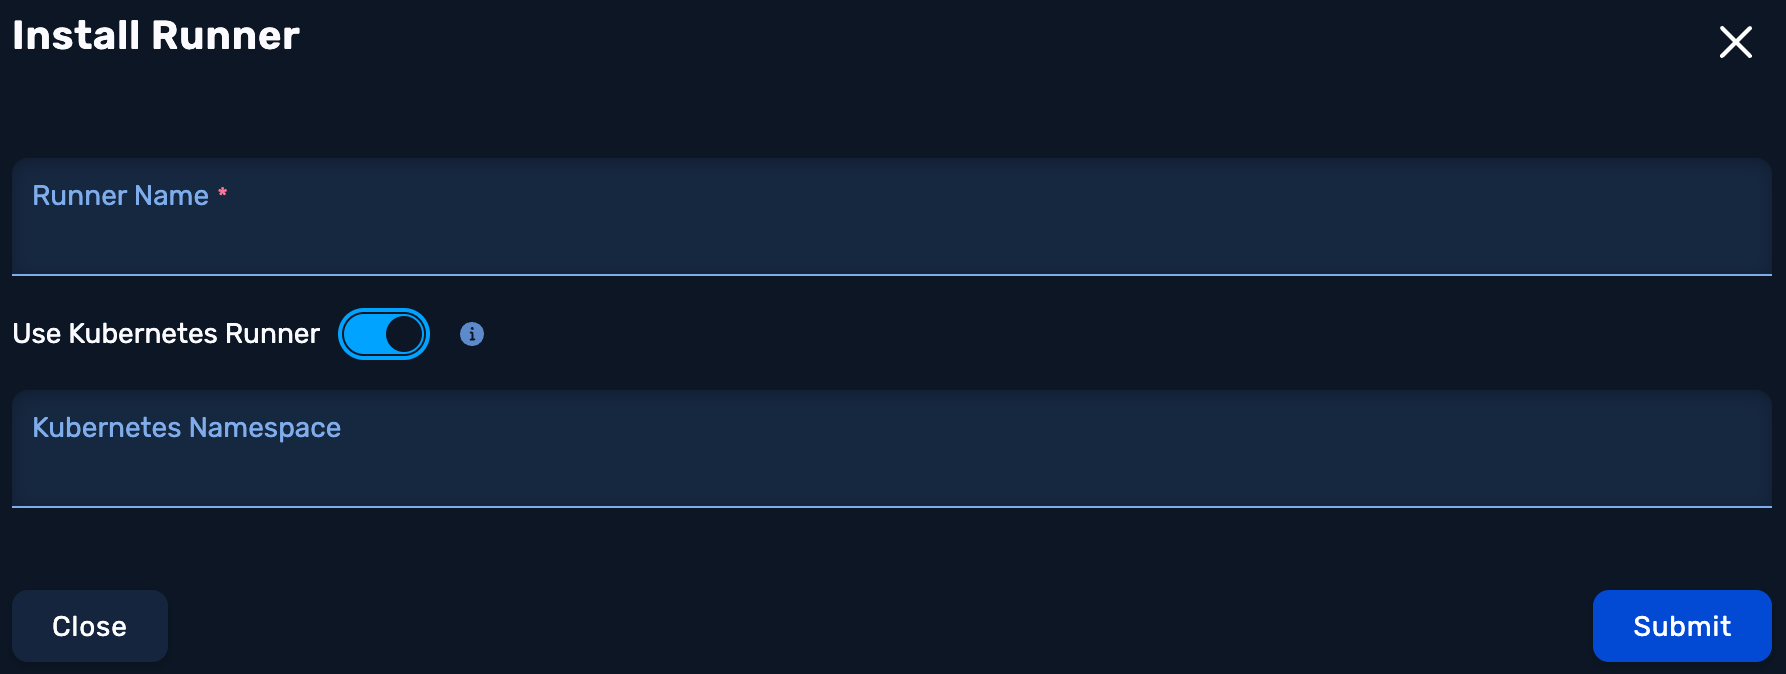
Specify a name for the Runner; enable the Use Kubernetes Runner toggle; specify a namespace; and then click Submit.
Runner per namespace
A Kubernetes Runner lives inside a namespace, meaning that any pentests that use that Runner will run from that namespace. If desired, you can install a Runner in each namespace.
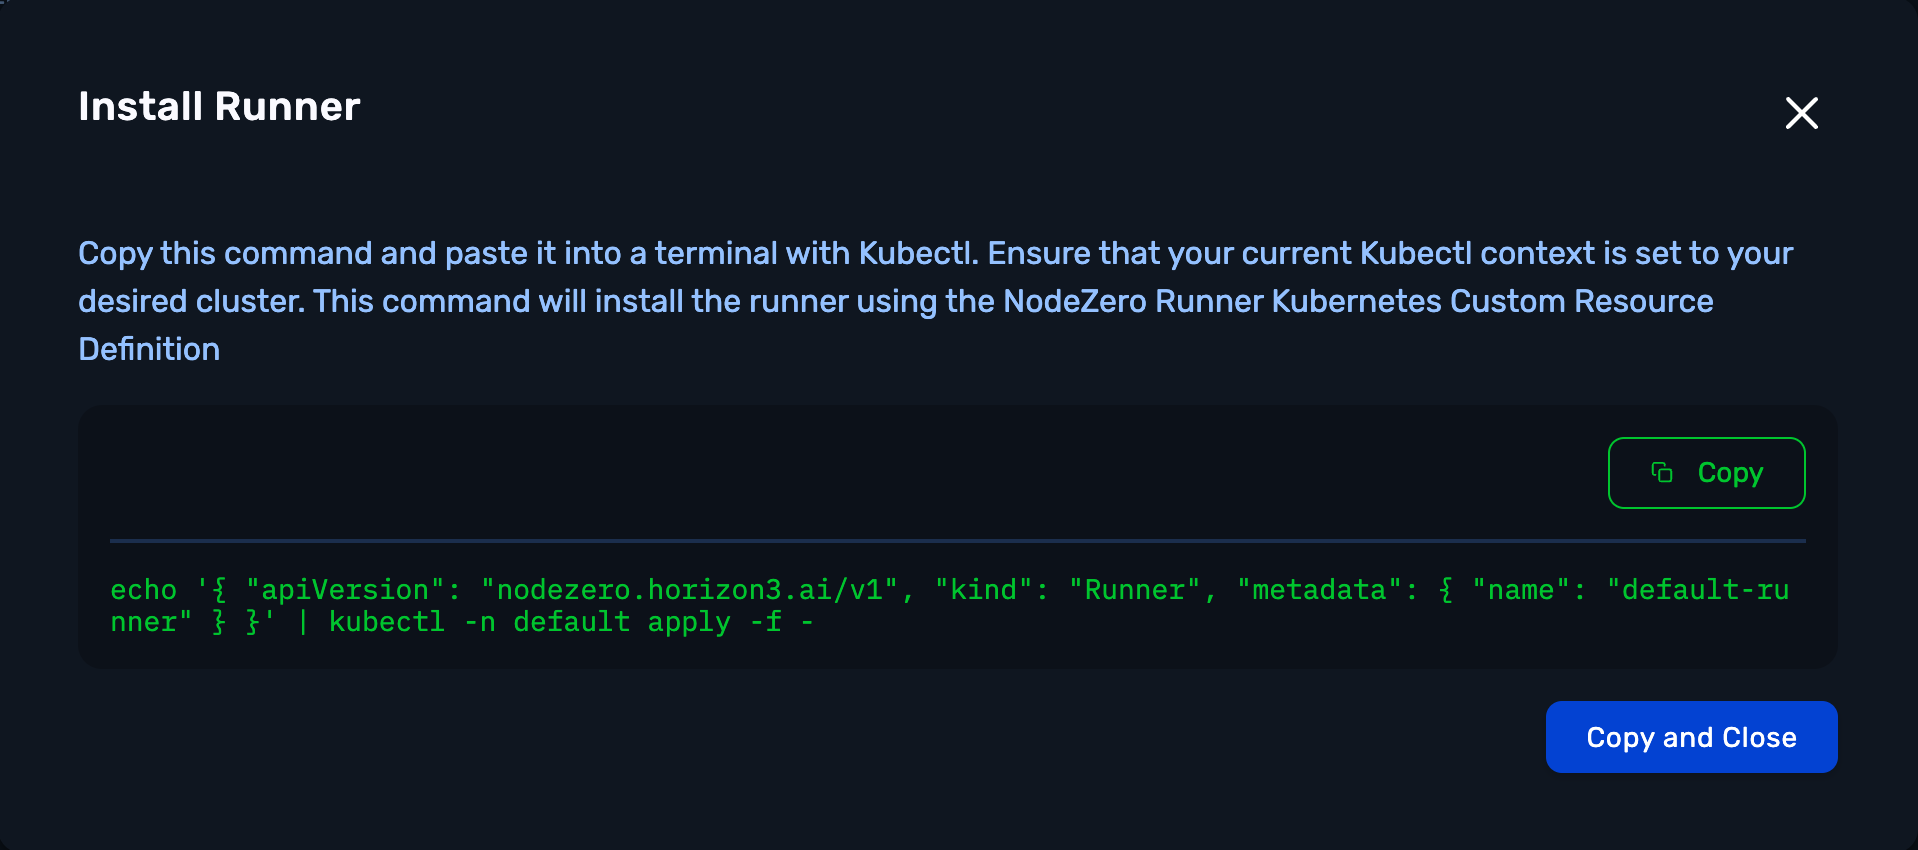
Install Runner
Copy this command and paste it into a terminal with kubectl. Ensure that your current kubectl context is set to your desired cluster. This one-time command will install the Runner using the NodeZero Runner Kubernetes Custom Resource Definition.
What permissions are needed to install the NodeZero Runner?
See our example Pentest & Runner ClusterRole CRD, which includes the required permissions.
Control What NodeZero Can See
Before configuring the test itself, consider how Kubernetes role-based access control (RBAC) constrains what the test can access.
A Kubernetes Pentest is an assumed-breach test. NodeZero acts as an attacker who has already landed inside your cluster, and it starts from the identity you assign it: a Kubernetes namespace and service account.
That service account's permissions (its RBAC) determine how much of the cluster NodeZero can discover and attack. Setting these correctly is the single most important factor in the value you get from the test.
Test Scope Versus Results
When a pentest runs, NodeZero authenticates to the Kubernetes API server using the token from the service account you assign in the pentest configuration. Every enumeration and attack step (listing pods, reading secrets, mapping RBAC, and so on) uses that identity.
This means that the service account's permissions are a hard ceiling on the test:
-
If the service account can list pods, namespaces, and other resources across the cluster, NodeZero will enumerate the cluster and pursue attack paths from there.
-
If the service account has little or no access to K8s resources, NodeZero can authenticate, but its API calls will return "Forbidden." In this case, the test will be able to see only the pod it started in, and results will look empty or nearly empty.
This divide is by design. It faithfully simulates what a real attacker – who compromised a workload, running as that service account – could do. It also means that a limited result is usually a permissions signal, not a product limitation.
Permissions Versus Scope
The Operator and Runner ClusterRoles referenced elsewhere in this topic grant the permissions that NodeZero's own infrastructure needs to install and manage tests. They do not control how much of your cluster a pentest can see. Test scope is governed only by the service account you assign to the pentest.
Choosing a Privilege Level
Because the service account that you assign is the attacker's starting identity, choosing its permission level is really choosing which attack scenario you want to test. Below are options that match three scenarios:
| Service Account | Attack Scenario It Models | Enumeration Reach |
|---|---|---|
| An existing application service account | "What could an attacker do if they compromised this specific workload?" | Whatever that workload is actually granted. Most realistic. |
A new account bound to the built-in view ClusterRole |
A read-only foothold with broad visibility | Reads most resources cluster-wide, but not secrets or RBAC objects (the built-in view role excludes these) |
A new account bound to cluster-admin |
Worst-case, maximum blast radius | Full read and write across the entire cluster |
Guidance:
-
To demonstrate realistic risk, use an existing application service account that represents a plausible point of compromise.
-
To show broad discovery quickly, use the built-in
viewrole. Be aware it does not include secrets or RBAC, so the secret-extraction and privilege-escalation findings will not run. -
To exercise the full test, including secret extraction and RBAC privilege-escalation paths, use
cluster-admin
Grant the Service Account Permissions
The built-in view and cluster-admin roles already exist in every cluster, so with either of these, you only create a binding (skip to step 2 below). However, if you choose to use a dedicated service account, first create it (in step 1 or 3 below).
1. Create a dedicated service account (optional).
kubectl create serviceaccount nodezero-pentest -n <namespace>
(You can skip this and use an existing service account.)
2. Bind the service account to a role.
For broad, read-only discovery with the built-in view role:
kubectl create clusterrolebinding nodezero-pentest-view \
  --clusterrole=view \
  --serviceaccount=<namespace>:nodezero-pentest
For the full test (all findings, including secrets and privilege escalation) with the cluster-admin role:
kubectl create clusterrolebinding nodezero-pentest-admin \
  --clusterrole=cluster-admin \
  --serviceaccount=<namespace>:nodezero-pentest
ClusterRoleBinding, not RoleBinding
Use a ClusterRoleBinding, not a namespace-scoped RoleBinding. Cluster-wide enumeration requires cluster-scoped permissions. A RoleBinding would limit the test to a single namespace.
3. Least-privilege alternative: create a custom ClusterRole.
If your security policy does not allow granting view or cluster-admin, this custom role grants the minimum needed for a full-featured test. The first three rules let NodeZero see beyond its starting pod. The last two enable secret extraction and RBAC-based privilege-escalation findings.
apiVersion: rbac.authorization.k8s.io/v1
kind: ClusterRole
metadata:
  name: nodezero-pentest-enum
rules:
# Core enumeration: required to see beyond the starting pod
- apiGroups: [""]
  resources: ["pods", "namespaces", "services", "serviceaccounts"]
  verbs: ["get", "list"]
- apiGroups: ["batch"]
  resources: ["jobs", "cronjobs"]
  verbs: ["get", "list"]
- apiGroups: ["apps"]
  resources: ["deployments", "replicasets", "daemonsets", "statefulsets"]
  verbs: ["get", "list"]
# Deeper coverage: secret extraction and RBAC privilege-escalation findings
- apiGroups: [""]
  resources: ["secrets"]
  verbs: ["get", "list"]
- apiGroups: ["rbac.authorization.k8s.io"]
  resources: ["roles", "rolebindings", "clusterroles", "clusterrolebindings"]
  verbs: ["get", "list"]
Apply it and bind your service account:
kubectl apply -f nodezero-pentest-enum.yaml

kubectl create clusterrolebinding nodezero-pentest-enum \
  --clusterrole=nodezero-pentest-enum \
  --serviceaccount=<namespace>:nodezero-pentest
4. Confirm network reachability.
Enumerating resources through the API is separate from reaching them over the network. If a NetworkPolicy blocks pod-to-pod traffic from NodeZero's pod, some lateral-movement steps will not complete even when RBAC is correct. Confirm that no NetworkPolicy prevents NodeZero from reaching other pods in scope.
5. Assign the service account in the pentest.
When you reach the Kubernetes Settings step of the pentest configuration, enter the namespace and service account that you've prepared here.
Clean Up
After the test, remove anything you created for it, using commands like these:
# Remove the binding you used (match the name from step 2 or 3)
kubectl delete clusterrolebinding nodezero-pentest-view

# If you created the custom role
kubectl delete clusterrole nodezero-pentest-enum

# If you created a dedicated service account
kubectl delete serviceaccount nodezero-pentest -n <namespace>
Troubleshooting RBAC and Scope
This section covers how to resolve issues around the preceding configurations.
The Test Found Only the Starting Pod
This almost always means that the assigned service account lacks cluster-wide read permissions, so the Kubernetes API returned Forbidden and NodeZero could see only its own pod. Bind the service account to a role with cluster-wide read (see Grant the Service Account Permissions above) and re-run the test.
Run a Kubernetes Pentest
You can deploy NodeZero directly into any Kubernetes cluster, whether managed or self-managed, to pentest its security controls and vulnerabilities. Follow these steps to run a Kubernetes pentest within your network.
Navigate to Pentests
Once you've installed a NodeZero Operator in your cluster, you're ready to start a Kubernetes pentest. Open the NodeZero Portal's Pentests menu and select Pentests.

Click Run Assessment
Next, click Run Assessment. From the resulting tiles, select Infrastructure > Kubernetes Pentest.
Configure the Kubernetes Pentest
Name the Kubernetes Pentest
Name the Kubernetes Pentest and select a pentest template. For best results, determine and follow a naming convention that will allow you to quickly find a pentest from your pentest list.
An example format: [date]|[library]|[NodeZero Src]|[scope]
This format might give you a name like: 2026-09-01|NodeZero|East-Coast-Bizops-Cluster|Full – which indicates that the NodeZero host was placed in the East Coast Bizops cluster, and that the cluster CIDR ranges were explicitly added to scope.

Select the Kubernetes Scope
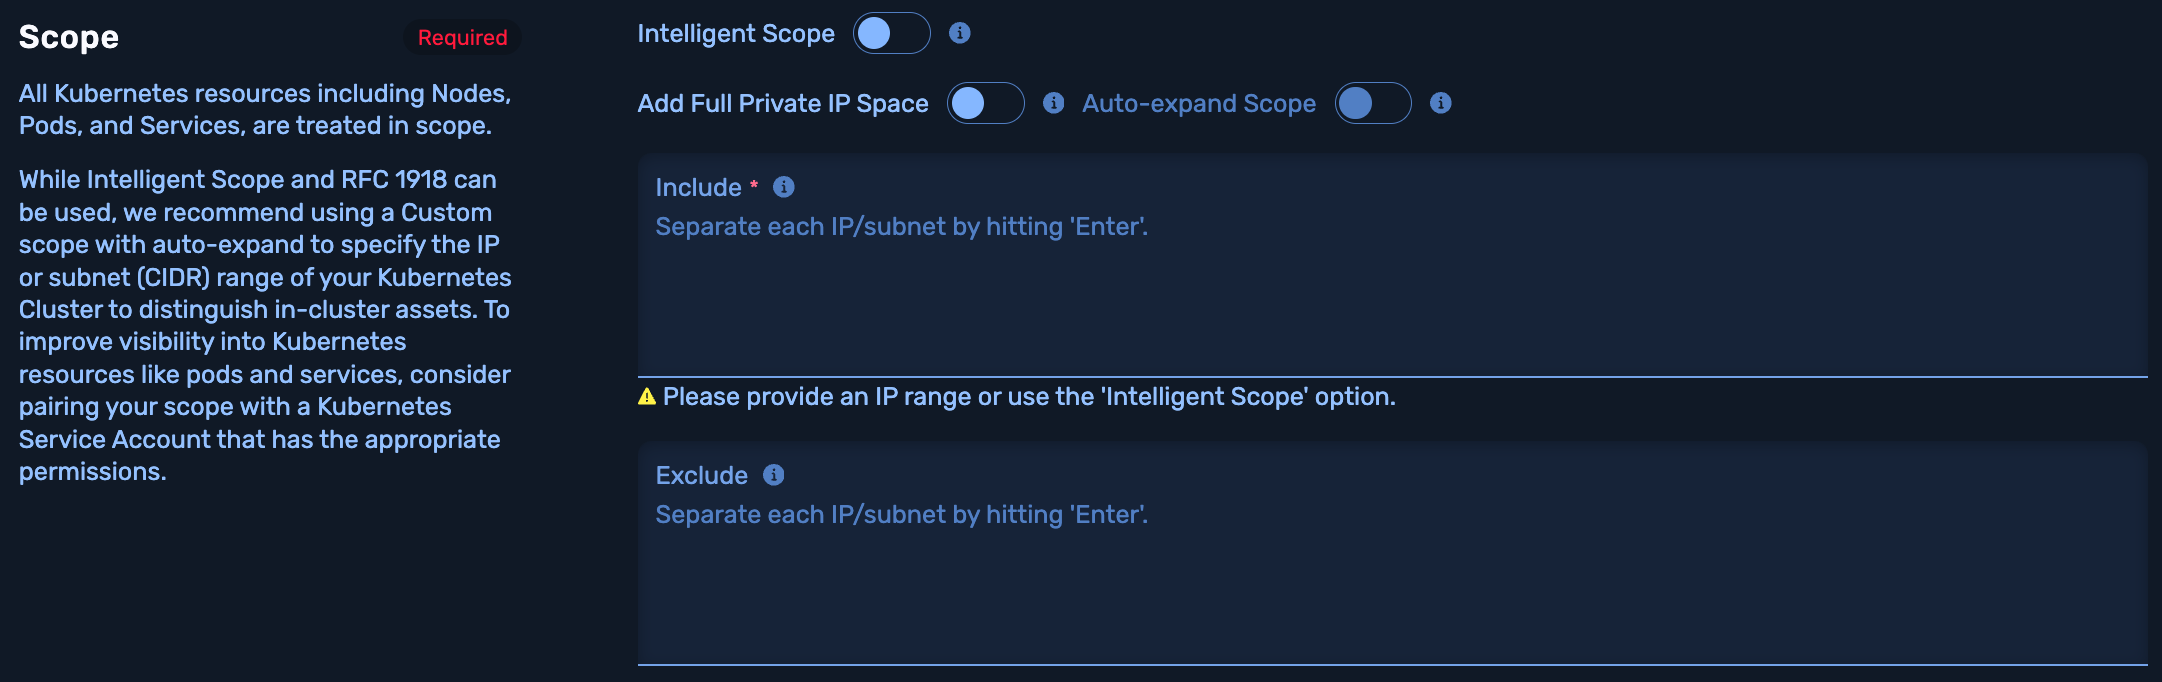
Since the goal of the Kubernetes Pentest is to test your cluster, all Kubernetes resources are treated as in scope, including nodes, pods, and services. This means you cannot exclude any Kubernetes resources from testing.
The Kubernetes pentest scope is a set of IPs and/or subnets (in CIDR notation) that you explicitly want NodeZero to test.
Depending on where your NodeZero host is deployed, reachability to the provided scope can be affected by how much privilege, access, and authentication NodeZero can capture or is given.
Unlike vulnerability tools that scan for device fingerprints and services, NodeZero enumerates devices in scope and then chains together context, exploitable vulnerabilities, misconfiguration, insecure or weak controls, and any data or loot that it captures, to identify attack paths by priority of impact while providing proof. Typically, the larger the scope, the more findings you'll see, as NodeZero has much more to chain together.
There are three options for the Include section (defined below):
- Intelligent Scope
- Full RFC 1918 (192.168.0.0/16, 172.16.10.0/24, 10.0.0.0/8)
- Custom IP(s) or Subnet(s)
- Auto-expand (Optional)
While Intelligent Scope and RFC 1918 can be used, we recommend using a Custom scope with auto-expand to specify the IP or subnet (CIDR) range of your Kubernetes Cluster to distinguish in-cluster assets. Without specifying this NodeZero has a hard time determining what is inside or outside your cluster and therefore what is in scope and should be tested. To improve visibility into Kubernetes resources like pods and services, consider pairing your scope with a Kubernetes Service Account that has the appropriate permissions.
We also recommend providing the CIDR ranges of the internal network or VPC that your cluster resides in to see if NodeZero can reach outside the cluster to your other hosts.
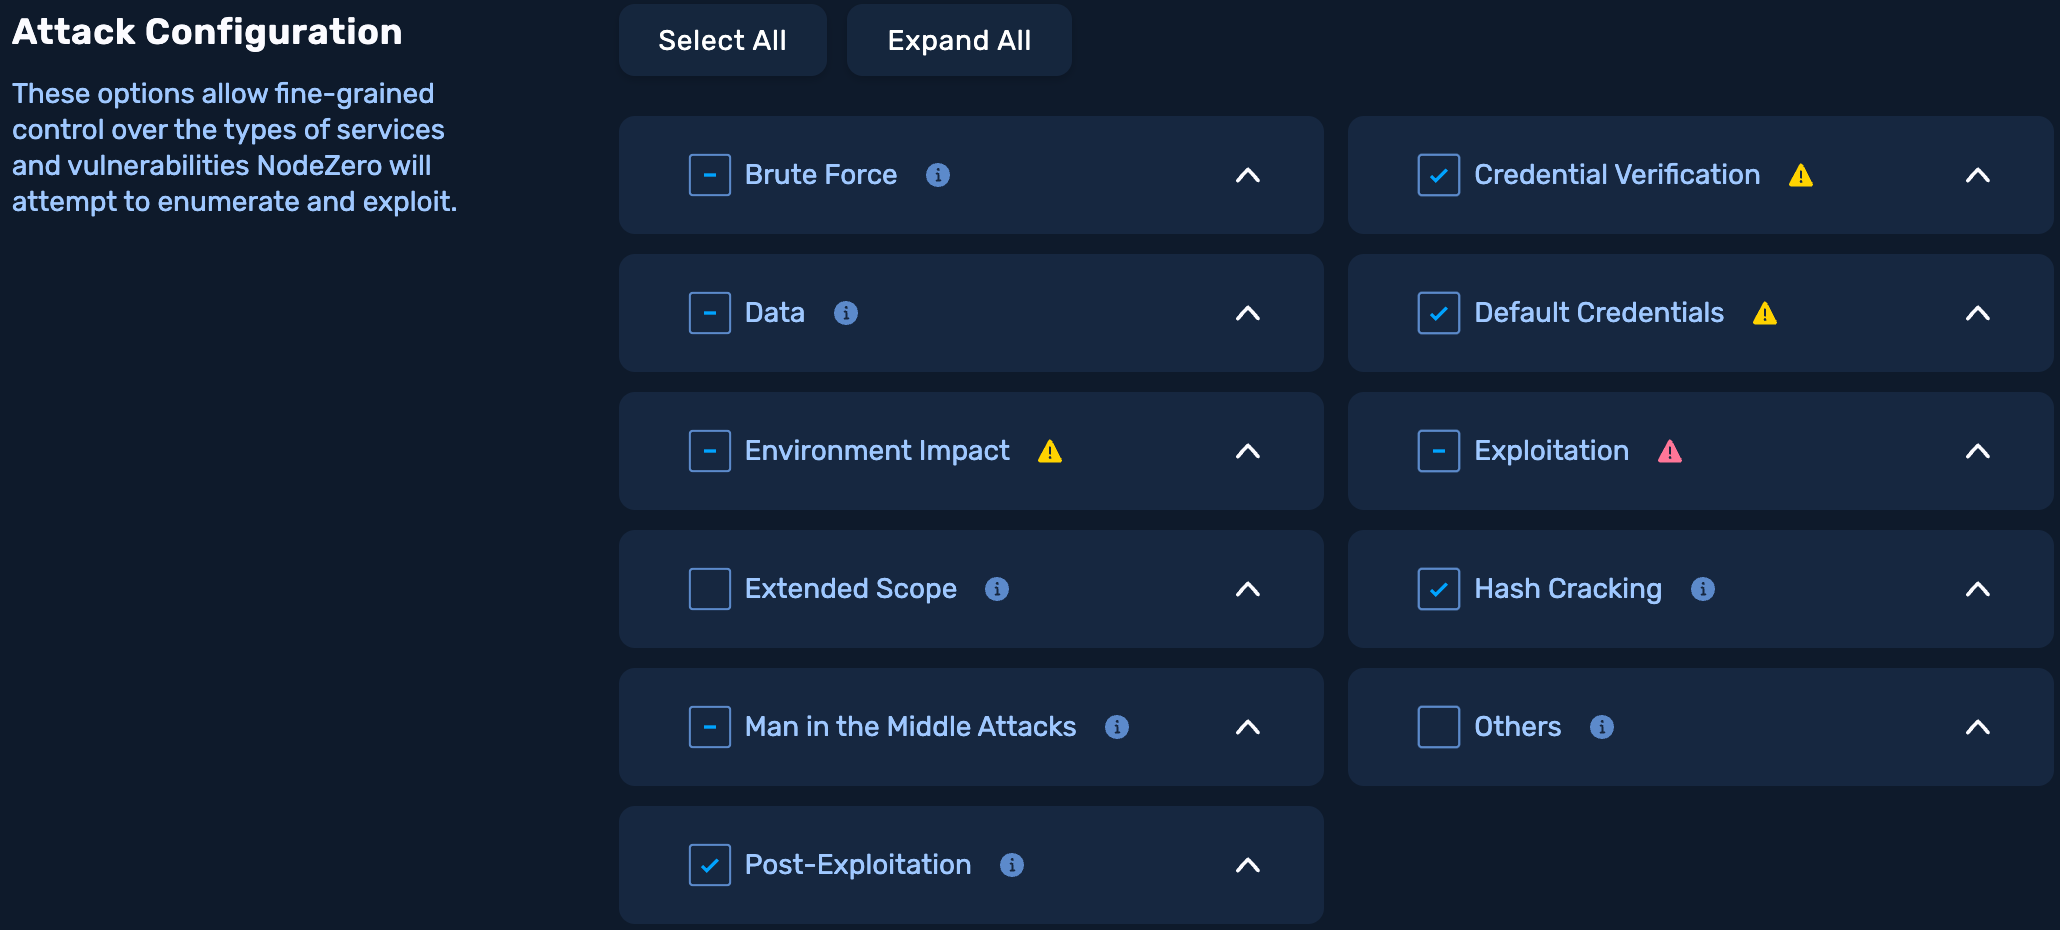
Attack Configuration
Select the types of services and vulnerabilities NodeZero will attempt to enumerate and exploit. For more information on choosing attack configuration options, see Attack Configuration.
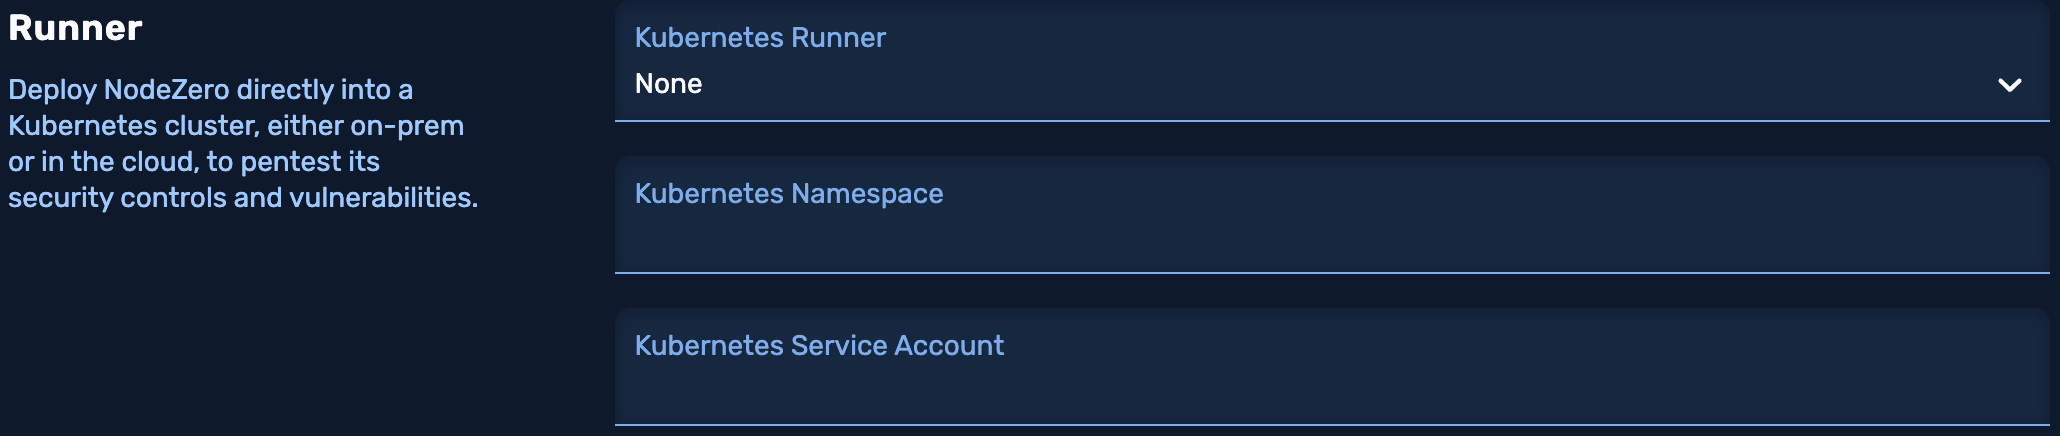
Runner
If you would like to deploy the pentest using a NodeZero Runner, feel free to select one! Note that Kubernetes pentests can use only Kubernetes Runners.
Kubernetes Settings
You can specify a Kubernetes Namespace and a Kubernetes Service Account that you want NodeZero to use.
These are powerful settings that enable you to simulate the scenario in which an attacker compromises a pod in your cluster. To simulate this scenario, simply set these two fields to match the configuration of one of your pods. We recommend simulating pods that have ports accessible from outside the cluster, as these are among an attacker's likely entry points to your cluster.
The namespace and service account that you select here define the identity NodeZero uses for the entire test. The service account's permissions determine how much of your cluster the test can reach. Before running the test, make sure the service account is scoped for the results you want – review Control What NodeZero Can See.
Runner per namespace
Since a Kubernetes Runner lives inside a namespace, when you select a Runner, the pentest must run from that namespace, and you will not be able to customize that field.
Review the Kubernetes Pentest Configuration
Once satisfied with your pentest selections, select the check box to confirm you've reviewed all advanced configuration settings. Then click Run Pentest, which launches the Kubernetes pentest.

Deploy NodeZero
While the pentest is provisioning, its companion one-time-use software module, NodeZero, is made ready for deployment on your NodeZero host.
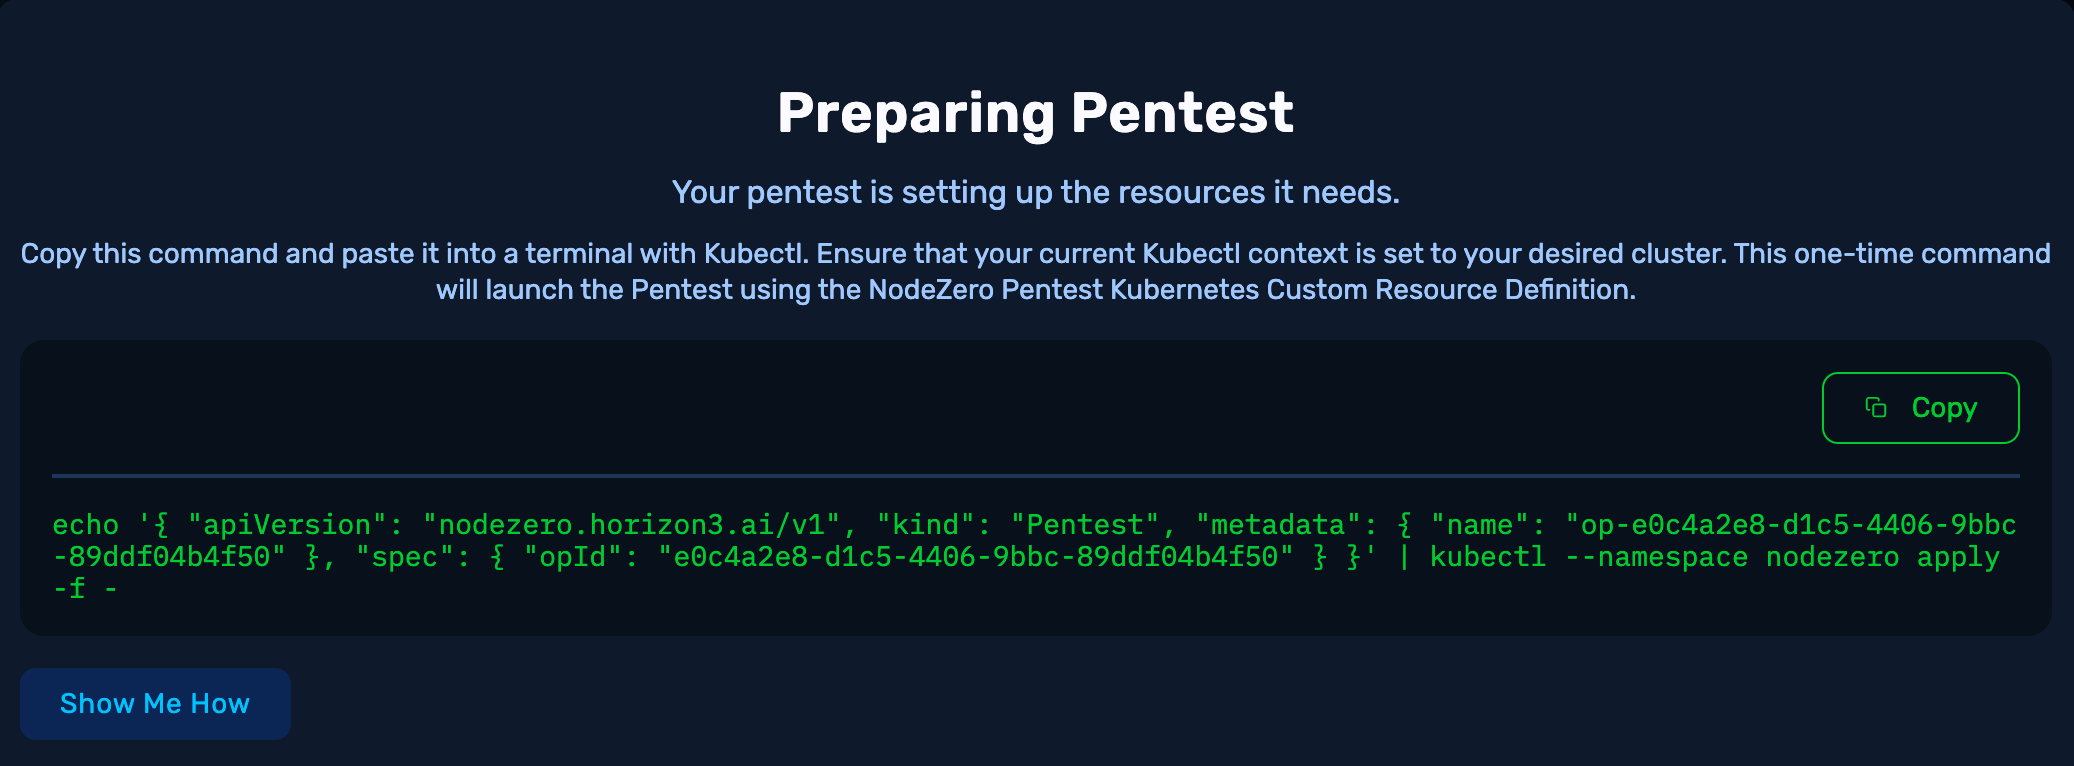
Copy the following command and paste it into a terminal with kubectl. Ensure that your current kubectl context is set to your desired cluster. This one-time command will launch the pentest using the NodeZero pentest's Kubernetes Custom Resource Definition.
What permissions are needed to deploy the pentest?
See our example Pentest & Runner ClusterRole CRD, which includes the required permissions.
Once the pentest starts, the Real-Time View will show up. Here, you can Inject Credentials and monitor pentest progress.
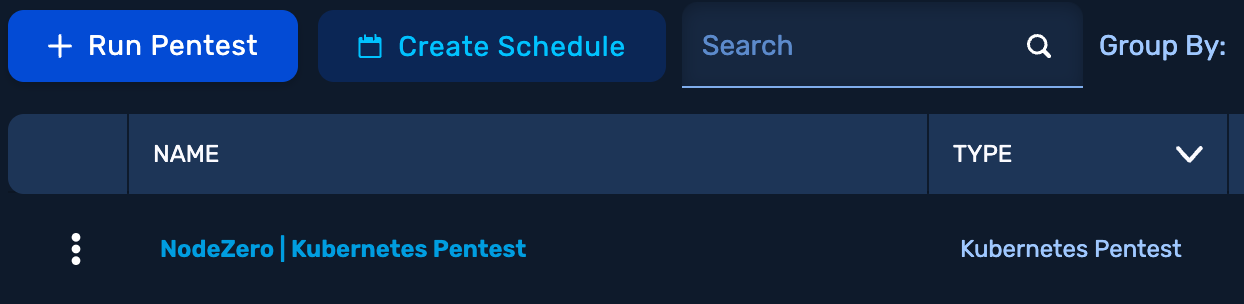
You've started a Kubernetes Pentest
NodeZero sends an email once the Kubernetes Pentest completes.
Uninstall the NodeZero Operator
If you've used the helm upgrade command outlined above in Install Operator, you have the option to later uninstall the operator as follows:
-
Verify releases with:
helm ls -n <the-namespace>. (This will typically be:helm ls -n nodezero.) -
Uninstall the operator with a command of the form:
helm uninstall nodezero-operator -n nodezero.