Start an External Pentest
Navigate to Pentests to Run an External Pentest
Once a Scope contains the assets authorized for pentesting, you may navigate to the Pentests page to start an external pentest.
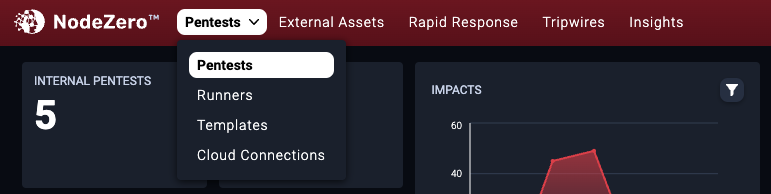
Click Run Assessment
Click Run Assessment to open the pentests selection page.

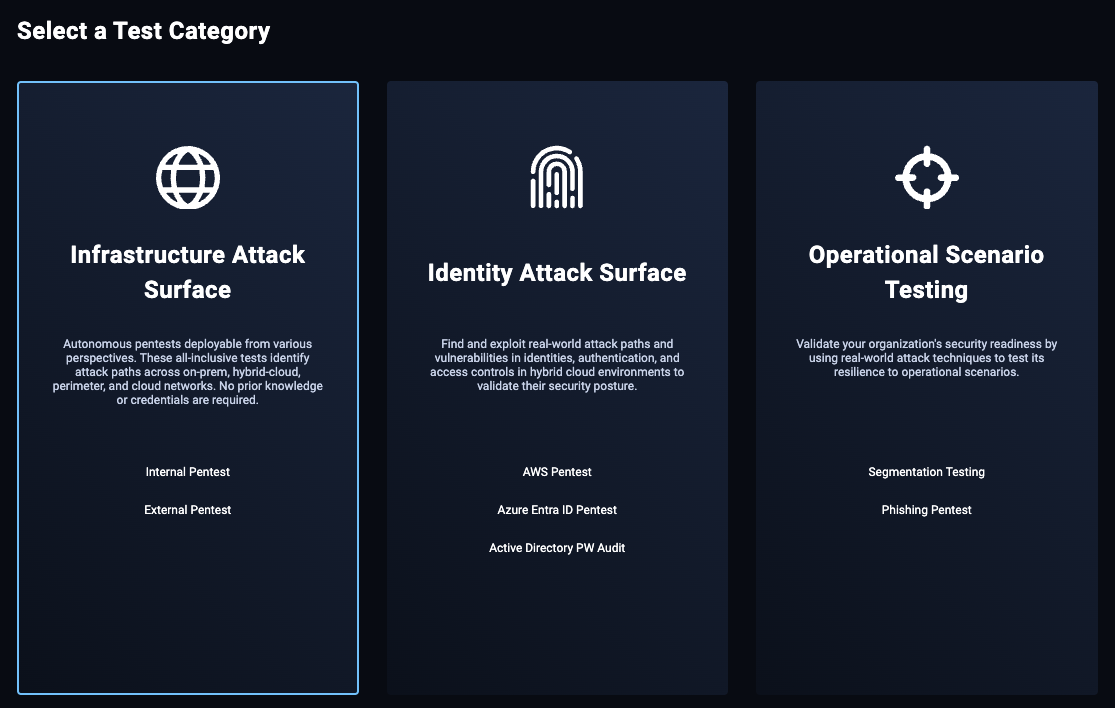
Then, from the Infrastructure category (in either Card View or List View), select External Pentest.
Configure the External Pentest
Set a Scope for the External Pentest
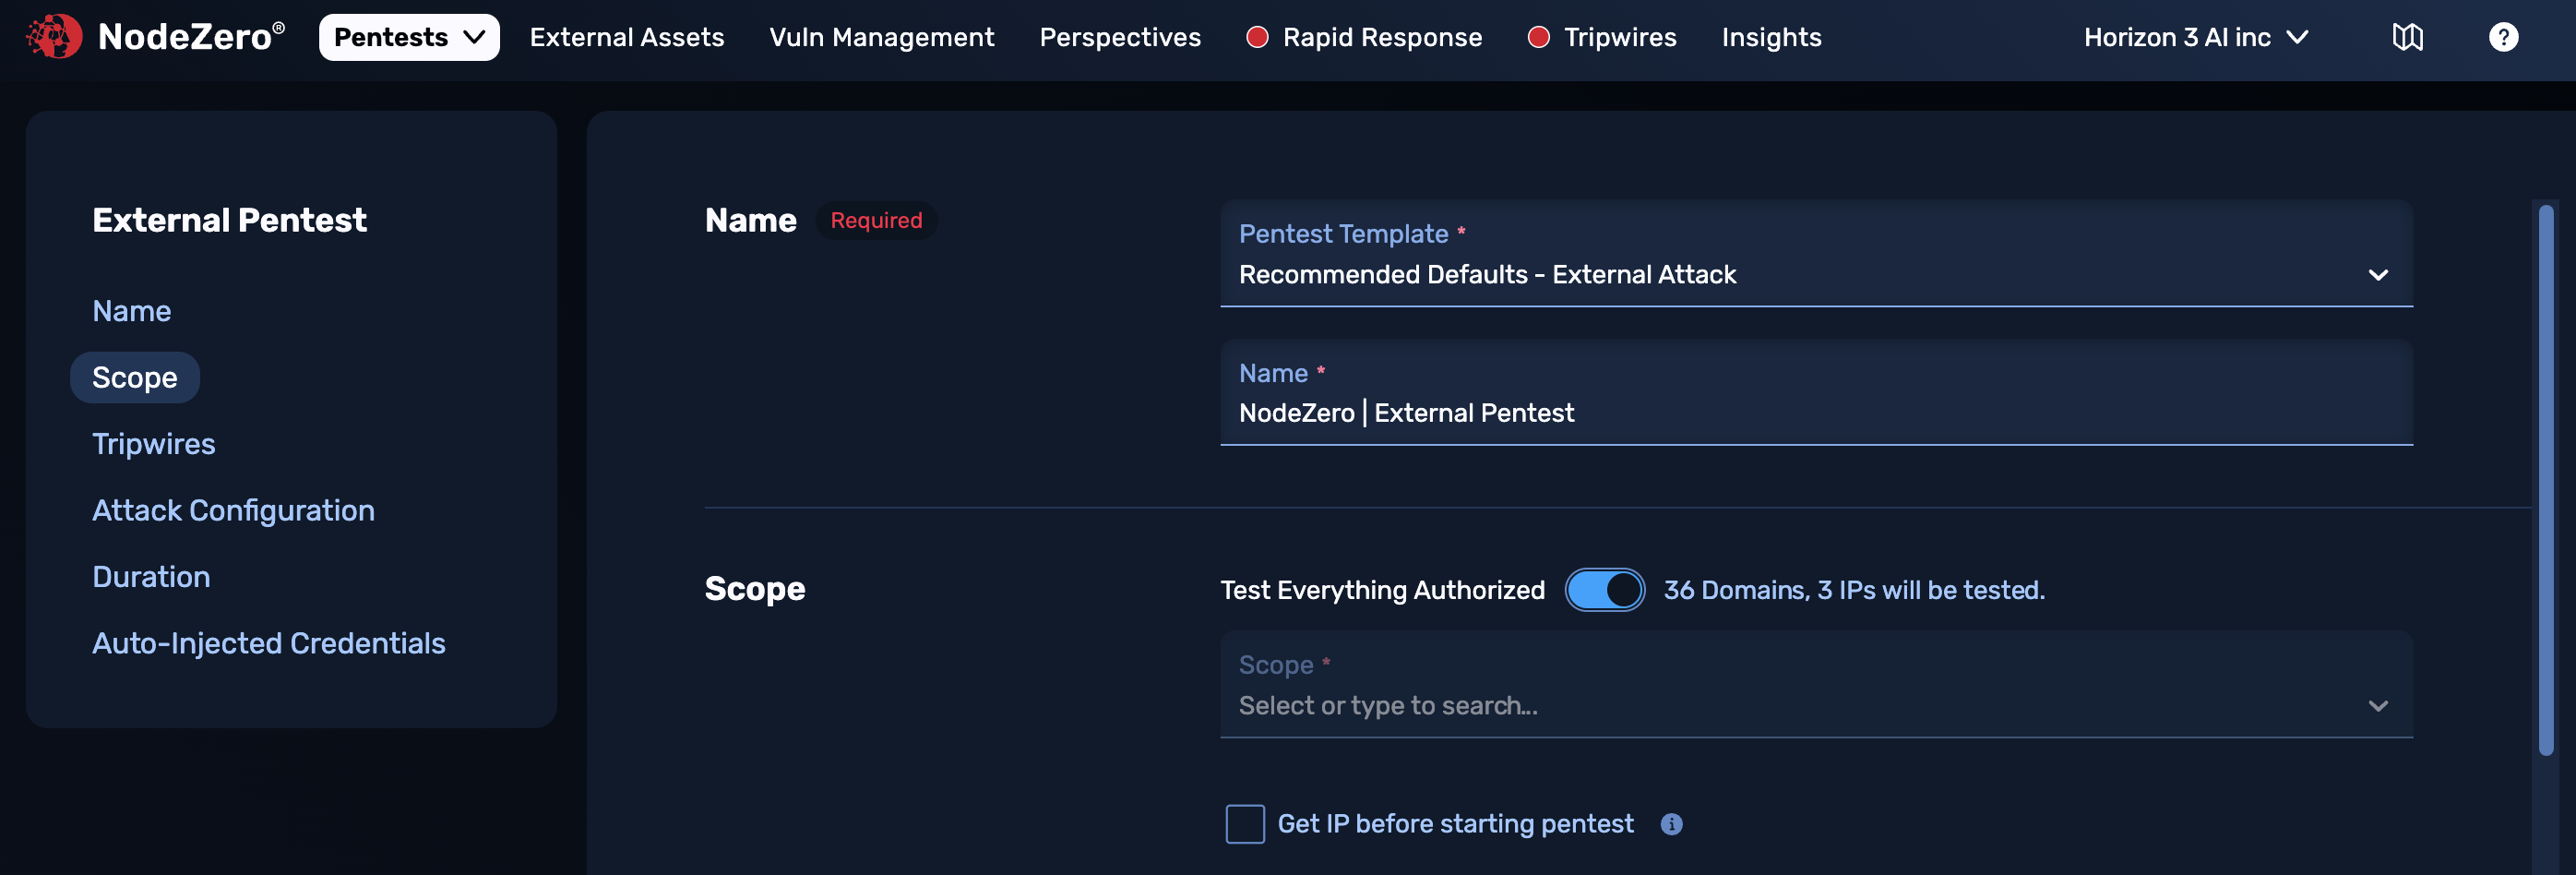
Select a name and template for the external pentest.
In the External Scope panel, the Test Everything Authorized option enables testing authorized assets across multiple Scopes. (Test reports will enable breakdowns by Scope.) The adjacent indicators show the total numbers of domains and IPs that are authorized and reachable across all those Scopes. Toggle this off if you prefer to select an individual Scope that includes authorized assets.
Select Get IP before starting pentest where the test's own IP needs to be allowlisted before running the test. Details about this option:
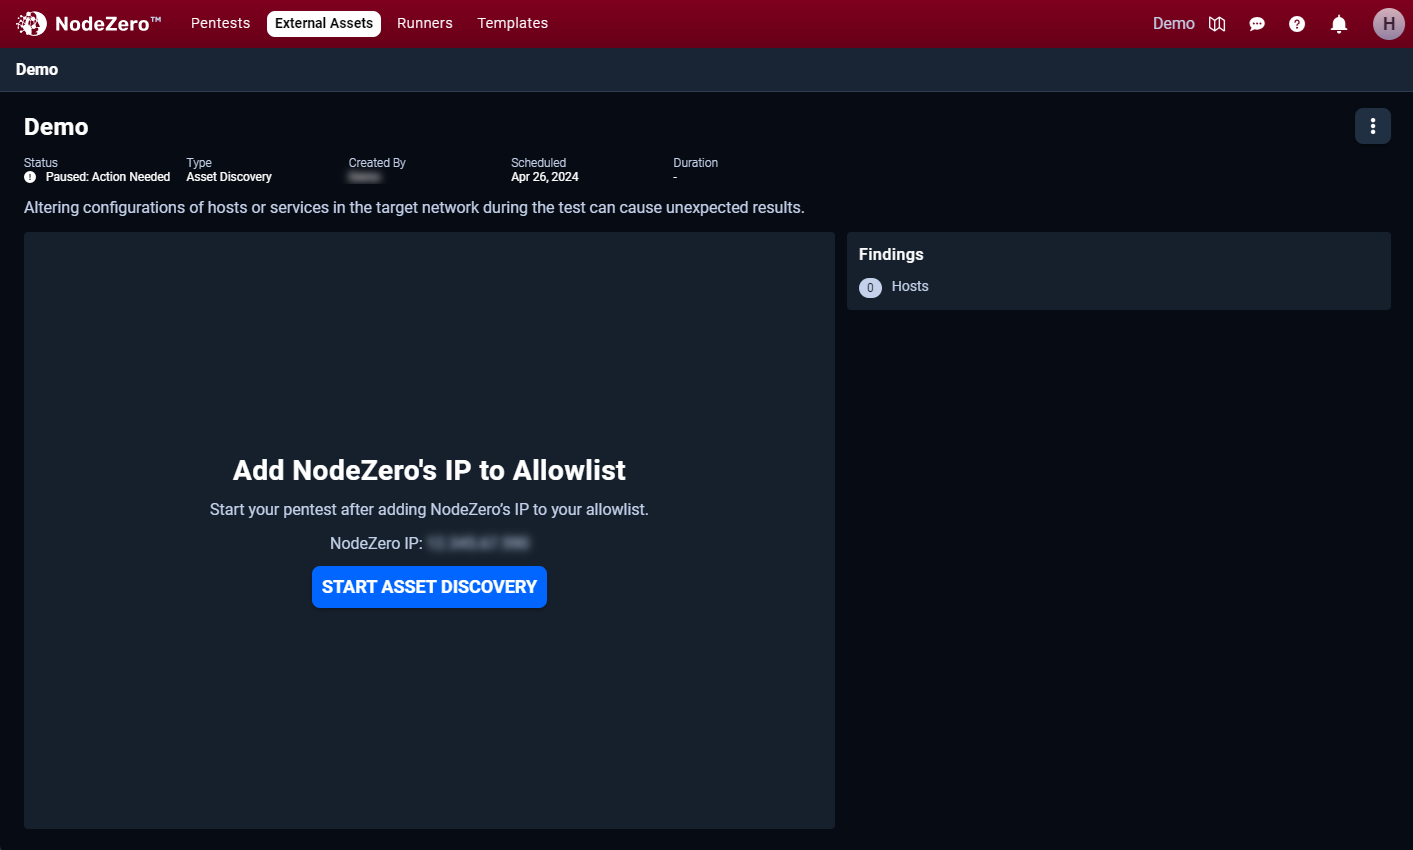
Because this is an external pentest, an IP from outside the perimeter network will be used to attack the network. Some organizations will need to allowlist this IP prior to starting the test, to simulate a breach. NodeZero will email the IP to the user who kicks off the test, and that user will need to add this IP to their allowlist. After adding the IP, resume the test from the Real-Time View. The IP will be live until the test completes, at which point NodeZero will release it.
Expanded Scope (Network Pivoting)
Switch this section On to enable network pivoting: techniques that expand NodeZero's autonomous attack engine beyond a test's originally configured scope, to include additional hosts reachable through a foothold discovered during the operation, such as an implant tunnel.
Rather than stopping at the perimeter (which understates risk), NodeZero will test what an attacker could reach next. This helps show the full blast radius of a single successful entry point, rather than only what's exposed at the front door.
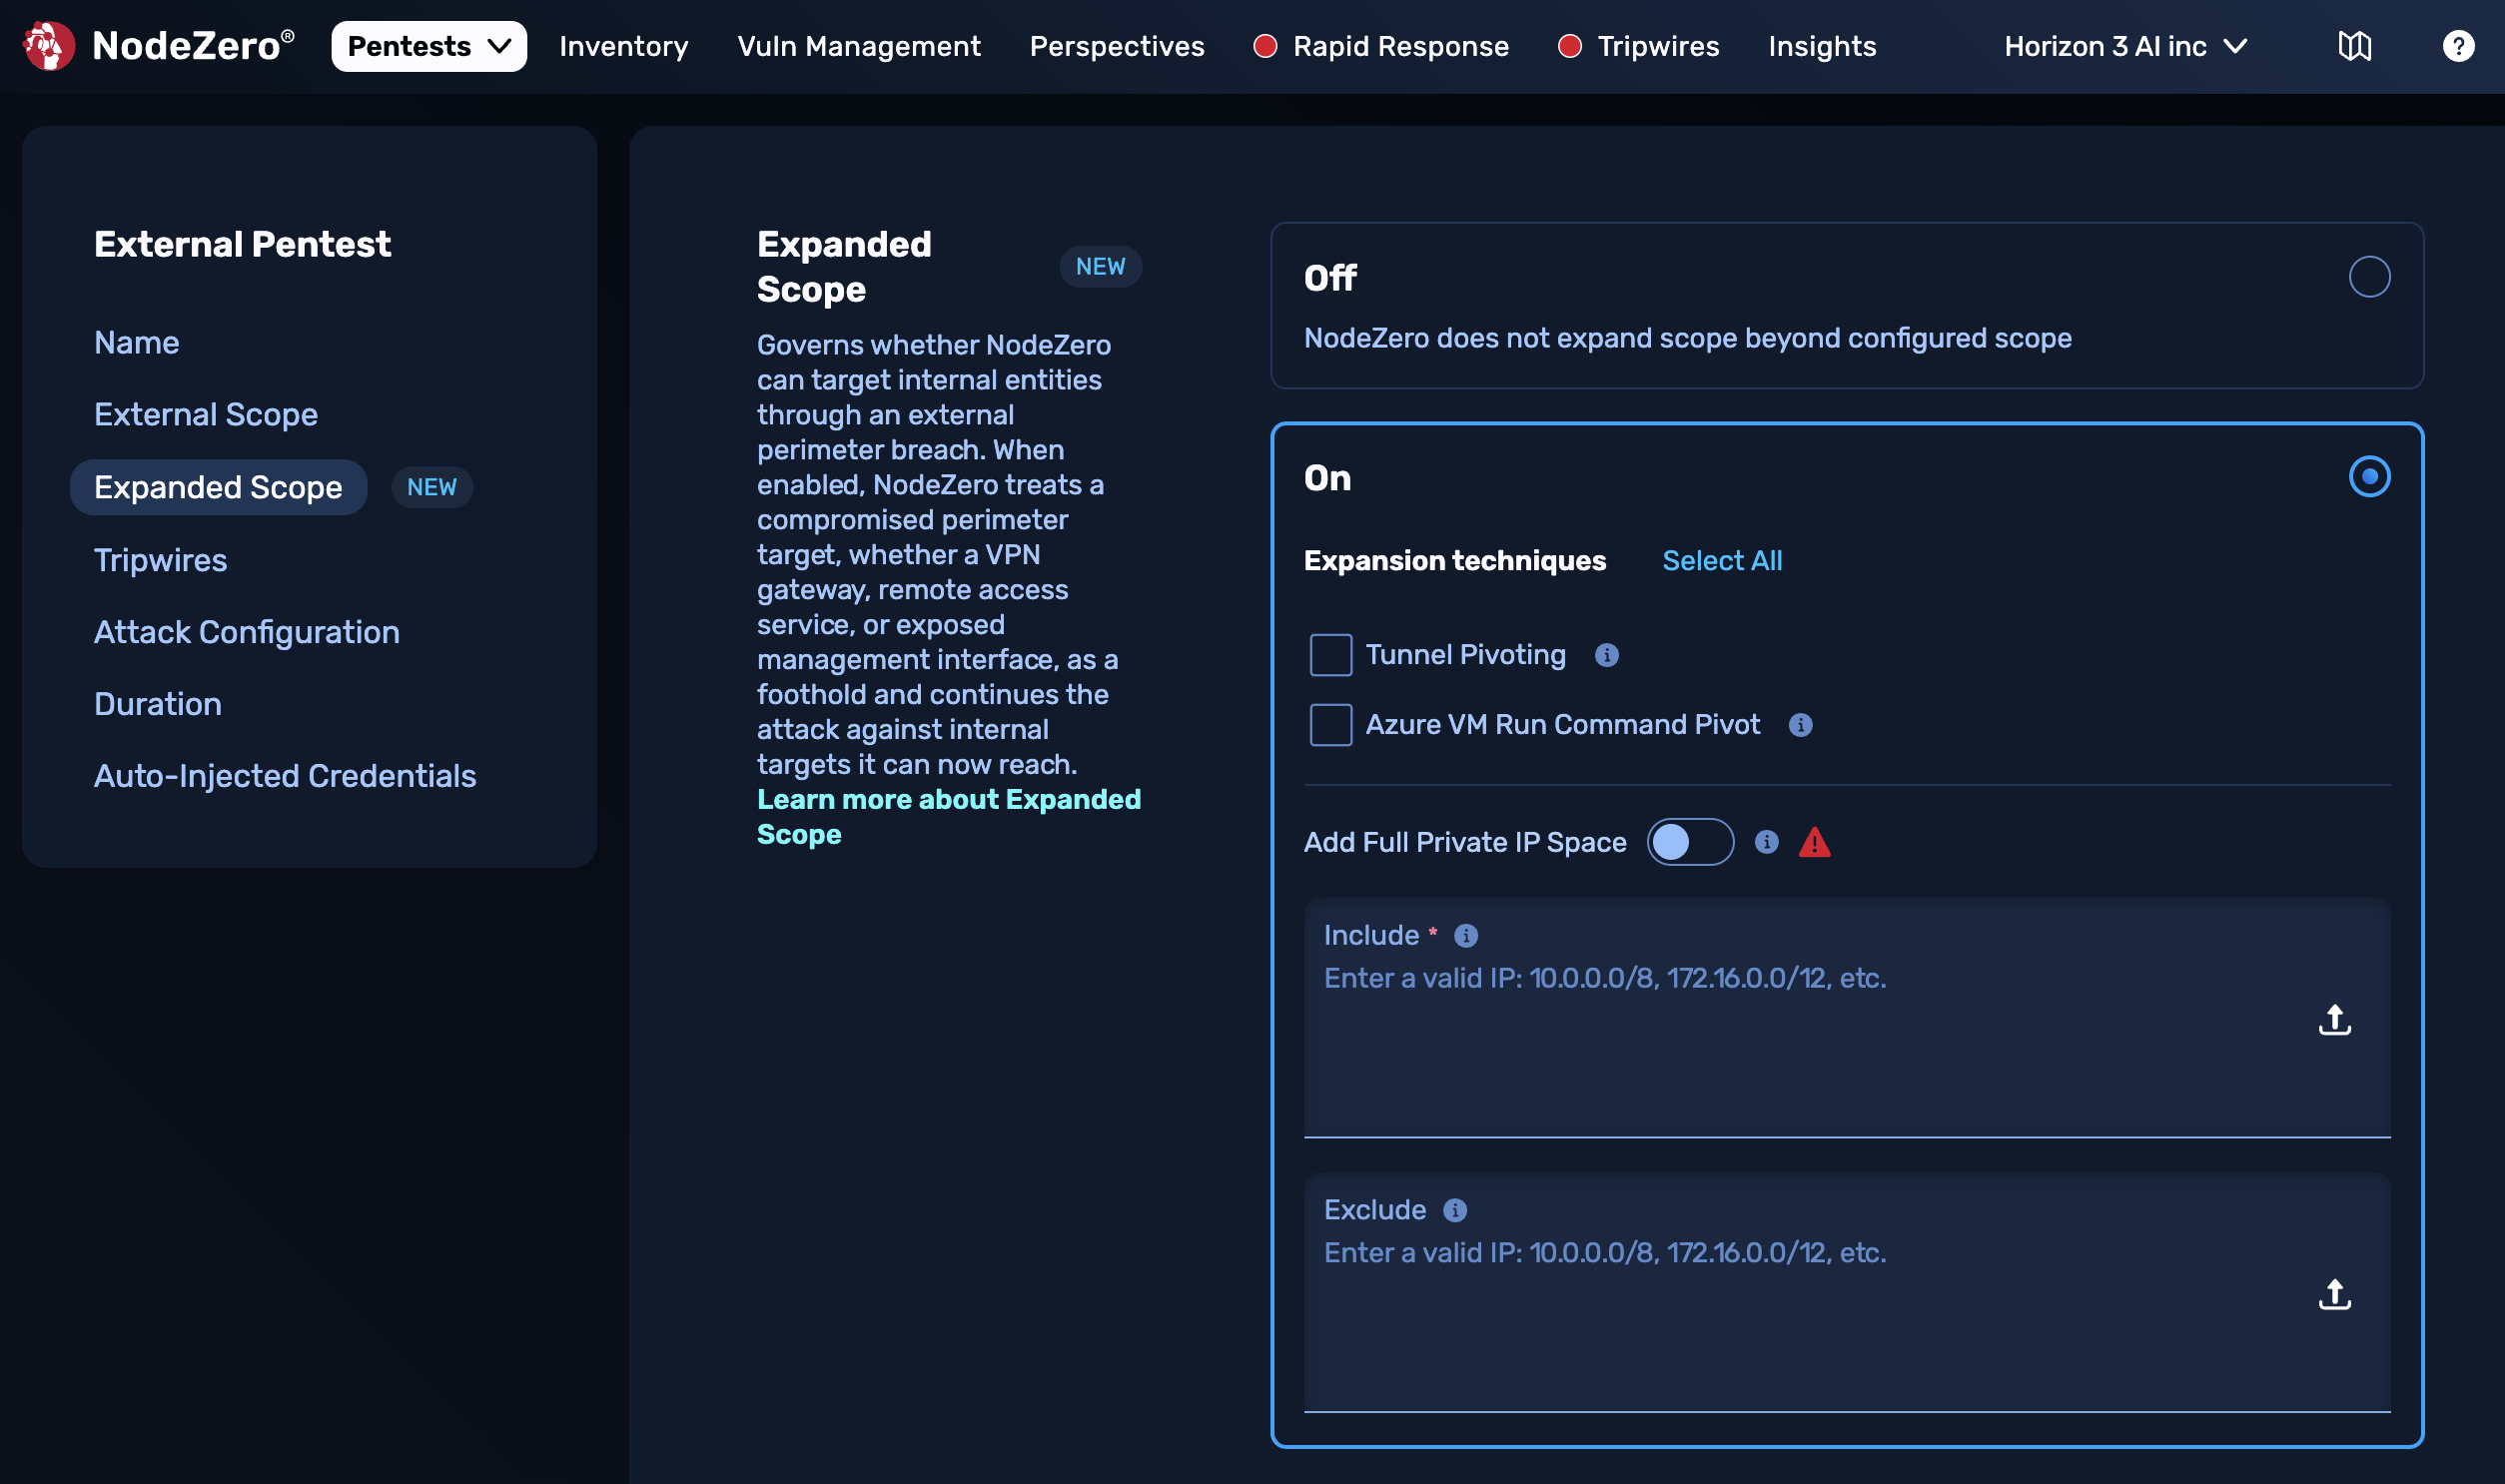
The options here include:
-
Tunnel Pivoting – This technique allows NodeZero to create L3 tunnels through compromised hosts, and create attack assets on internal networks that are outside the test's configured scope, but reachable from the compromised host.
-
Azure VM Run Command Pivot – This technique allows NodeZero to use Azure Run Command to pivot to VMs whose IPs are outside the test's configured scope.
-
Add Full Private IP Space – This inserts the following IP address ranges into the Include scope:
10.0.0.0/8,172.16.0.0/12,192.168.0.0/16. This allows NodeZero to enumerate your local network, looking for any RFC 1918 address, which should not be publicly routable. -
Include – A list of additional subnets that NodeZero is authorized to test if it successfully pivots. Directly enter IP CIDR blocks, or click the button to upload them from a CSV file.
-
Exclude – Subnets that NodeZero is not authorized to test if it successfully pivots. As with the Include field, you can directly enter subnets or upload a CSV.
Your test's results will distinguish pivot-based findings in the following places:
- Summary tab – Network Pivot Achieved callout, with Pivot badges on individual subnets reached through pivoting.
- Impacts tab – Pivot and Post-Pivot badges, with color highlighting on Critical findings enabled by a pivot.
- Attack Graph – A dedicated pivot node marks where the attack path crossed into expanded scope.
- Hosts tab – Shows which hosts were reached via pivot.
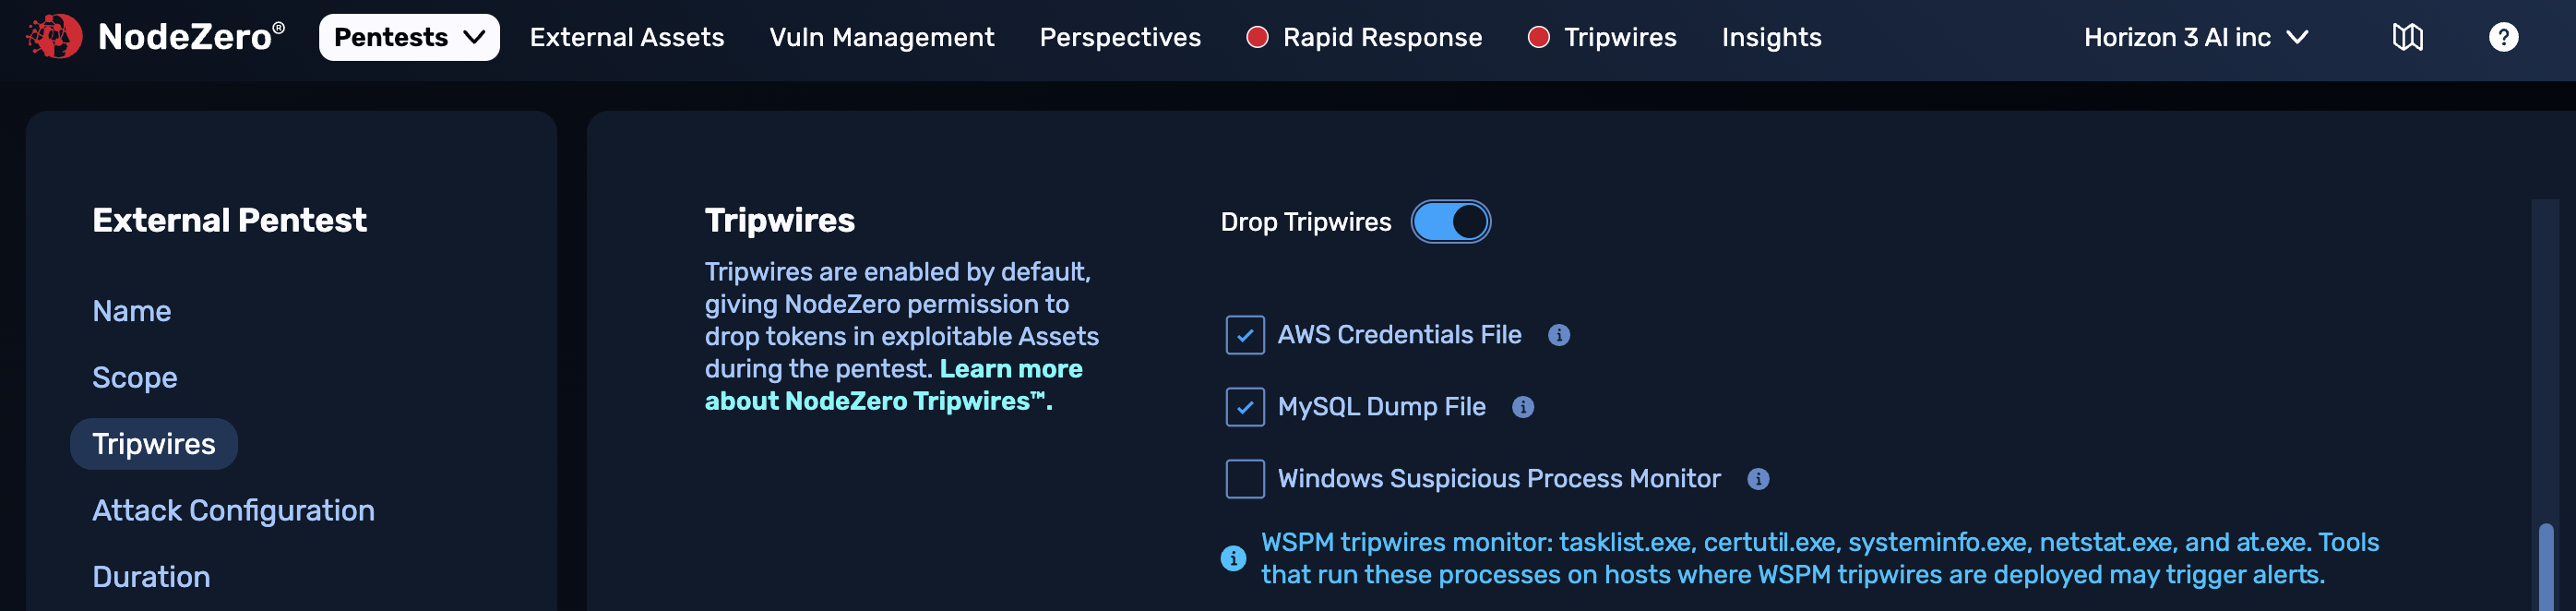
Tripwire Options
Use the Tripwires section to configure any Tripwire honeytokens you want to include in your test.
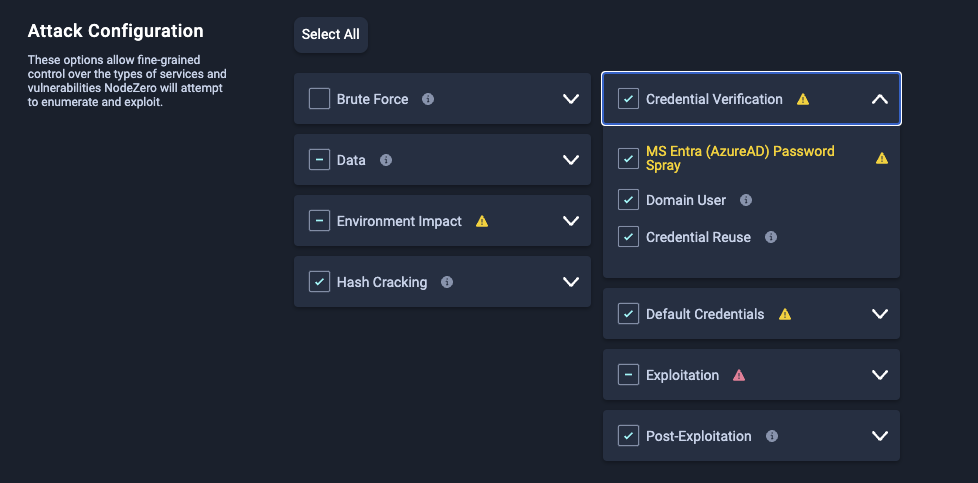
Advanced Configuration Options
Select the types of services and vulnerabilities NodeZero will attempt to enumerate and exploit. Expand each category to see the options within that category. When you're done, scroll to the next section.
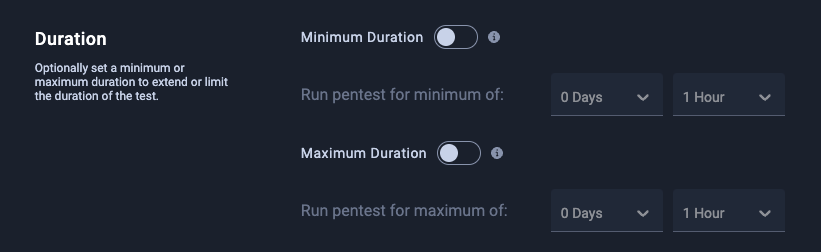
Additional Pentest Options
Optionally, set a minimum or maximum amount of time to allow some attacks to have more time, or limit their overall run time.
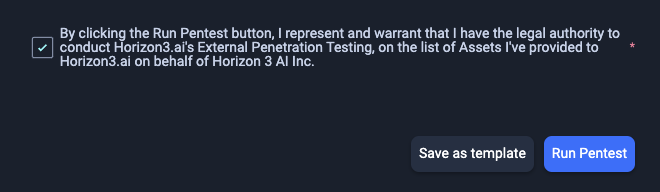
Review the External Pentest Configuration
Once satisfied with your pentest selections, scroll to the bottom of the page and check the box to indicate you represent, and have, the legal authority to conduct Horizon3's External Penetration Testing on the list of authorized assets. Then click Run Pentest.
Getting NodeZero IP
If you select Get NodeZero IP, the pentest will start in a paused state, so that you can add the NodeZero IP to your allowlist. Once you’ve completed that step, return to this page and resume the pentest.
Running the External Pentest
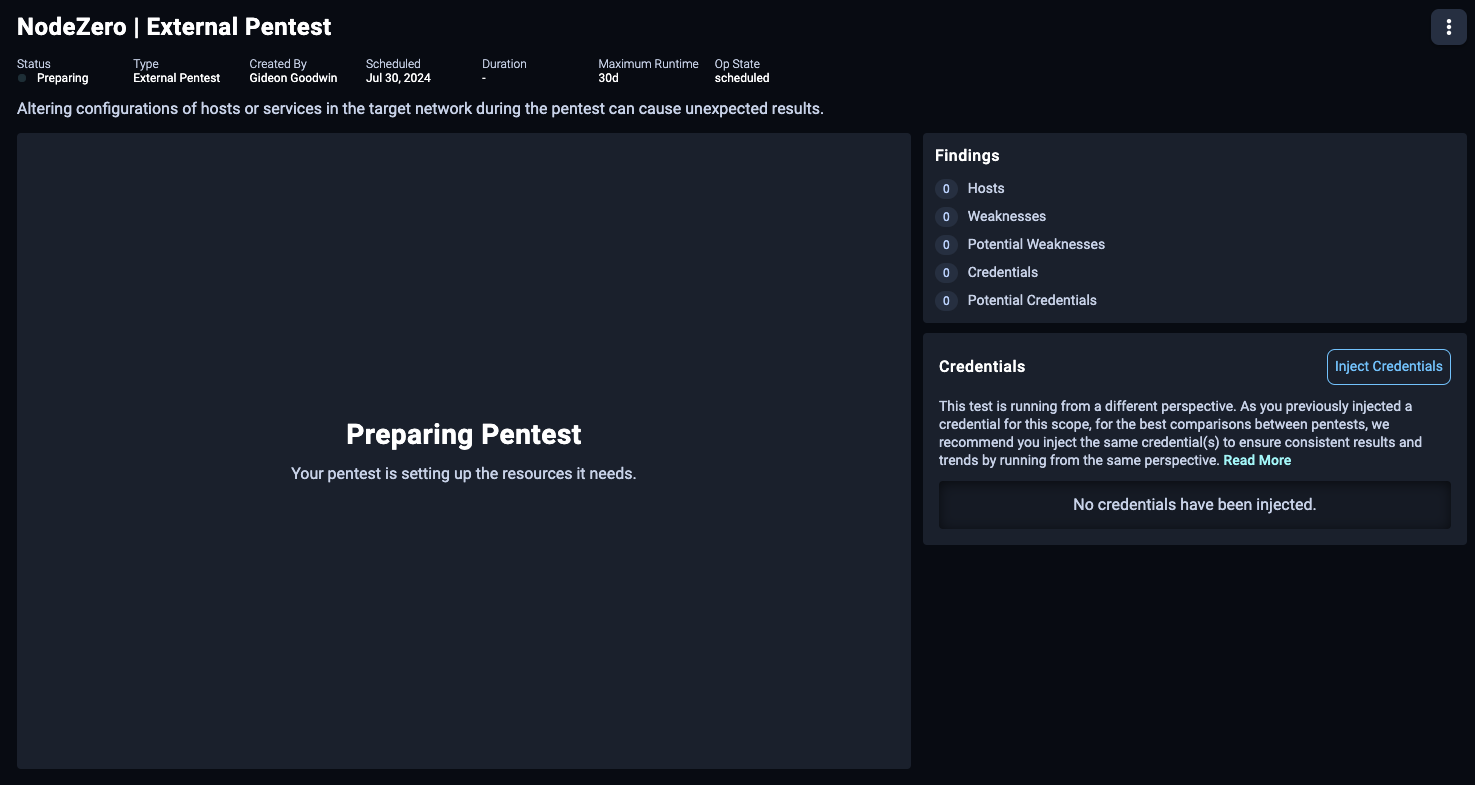
NodeZero can also run pentests from an authenticated perspective. Go to the Real-Time View and
You've started an External Pentest
NodeZero sends an email once the external pentest completes.